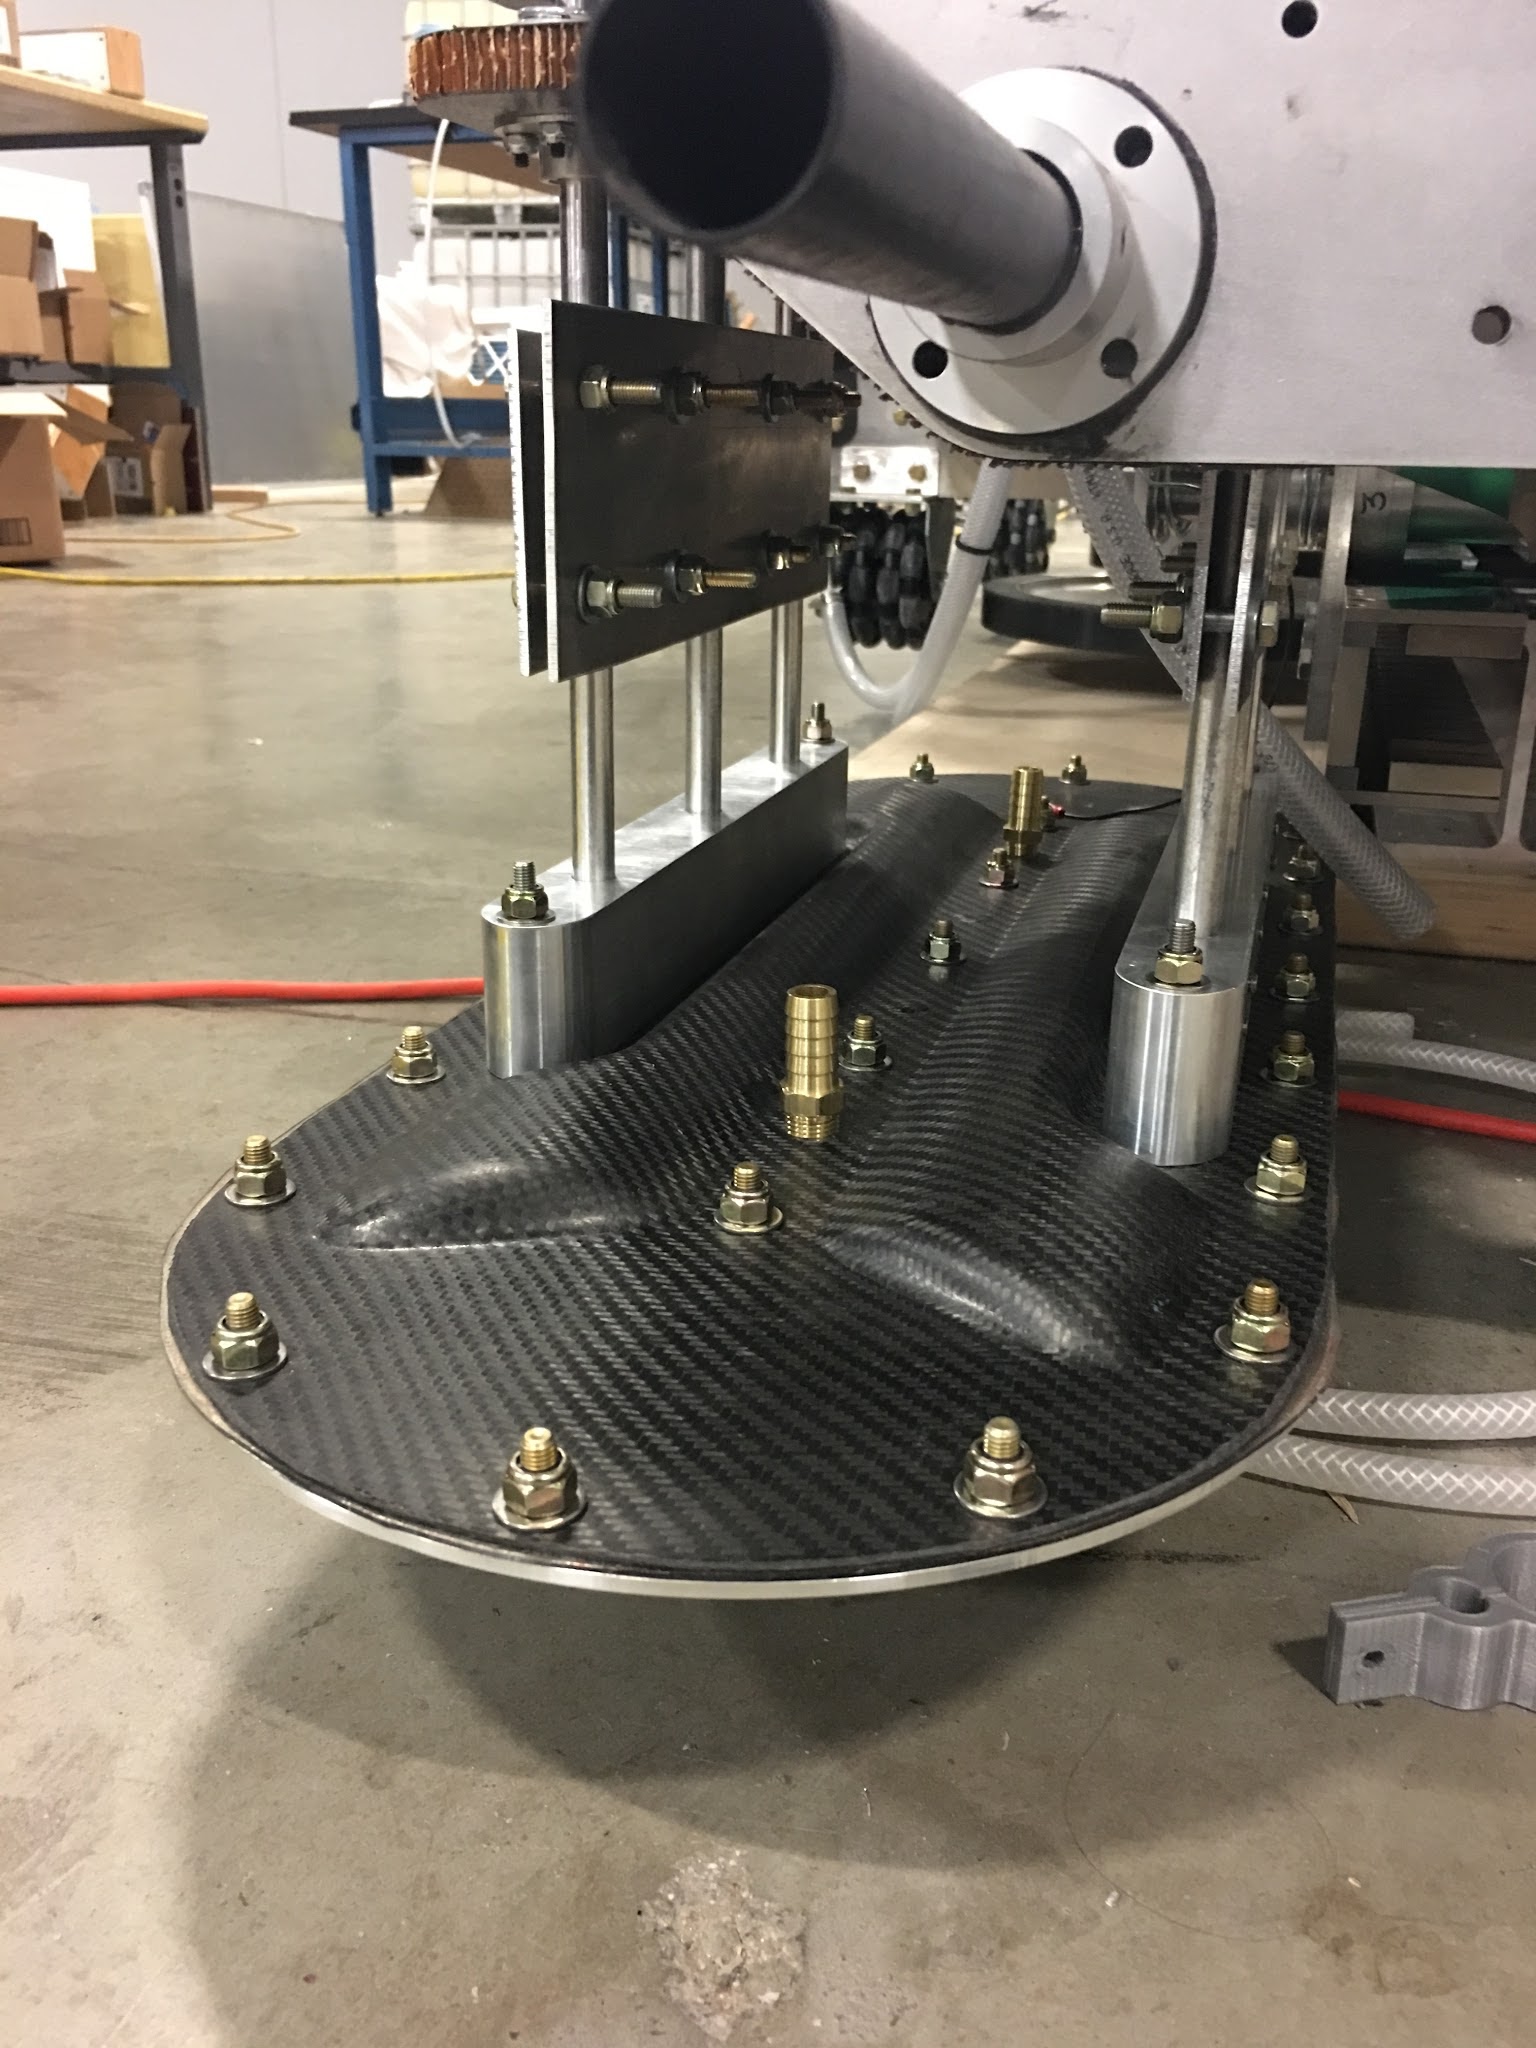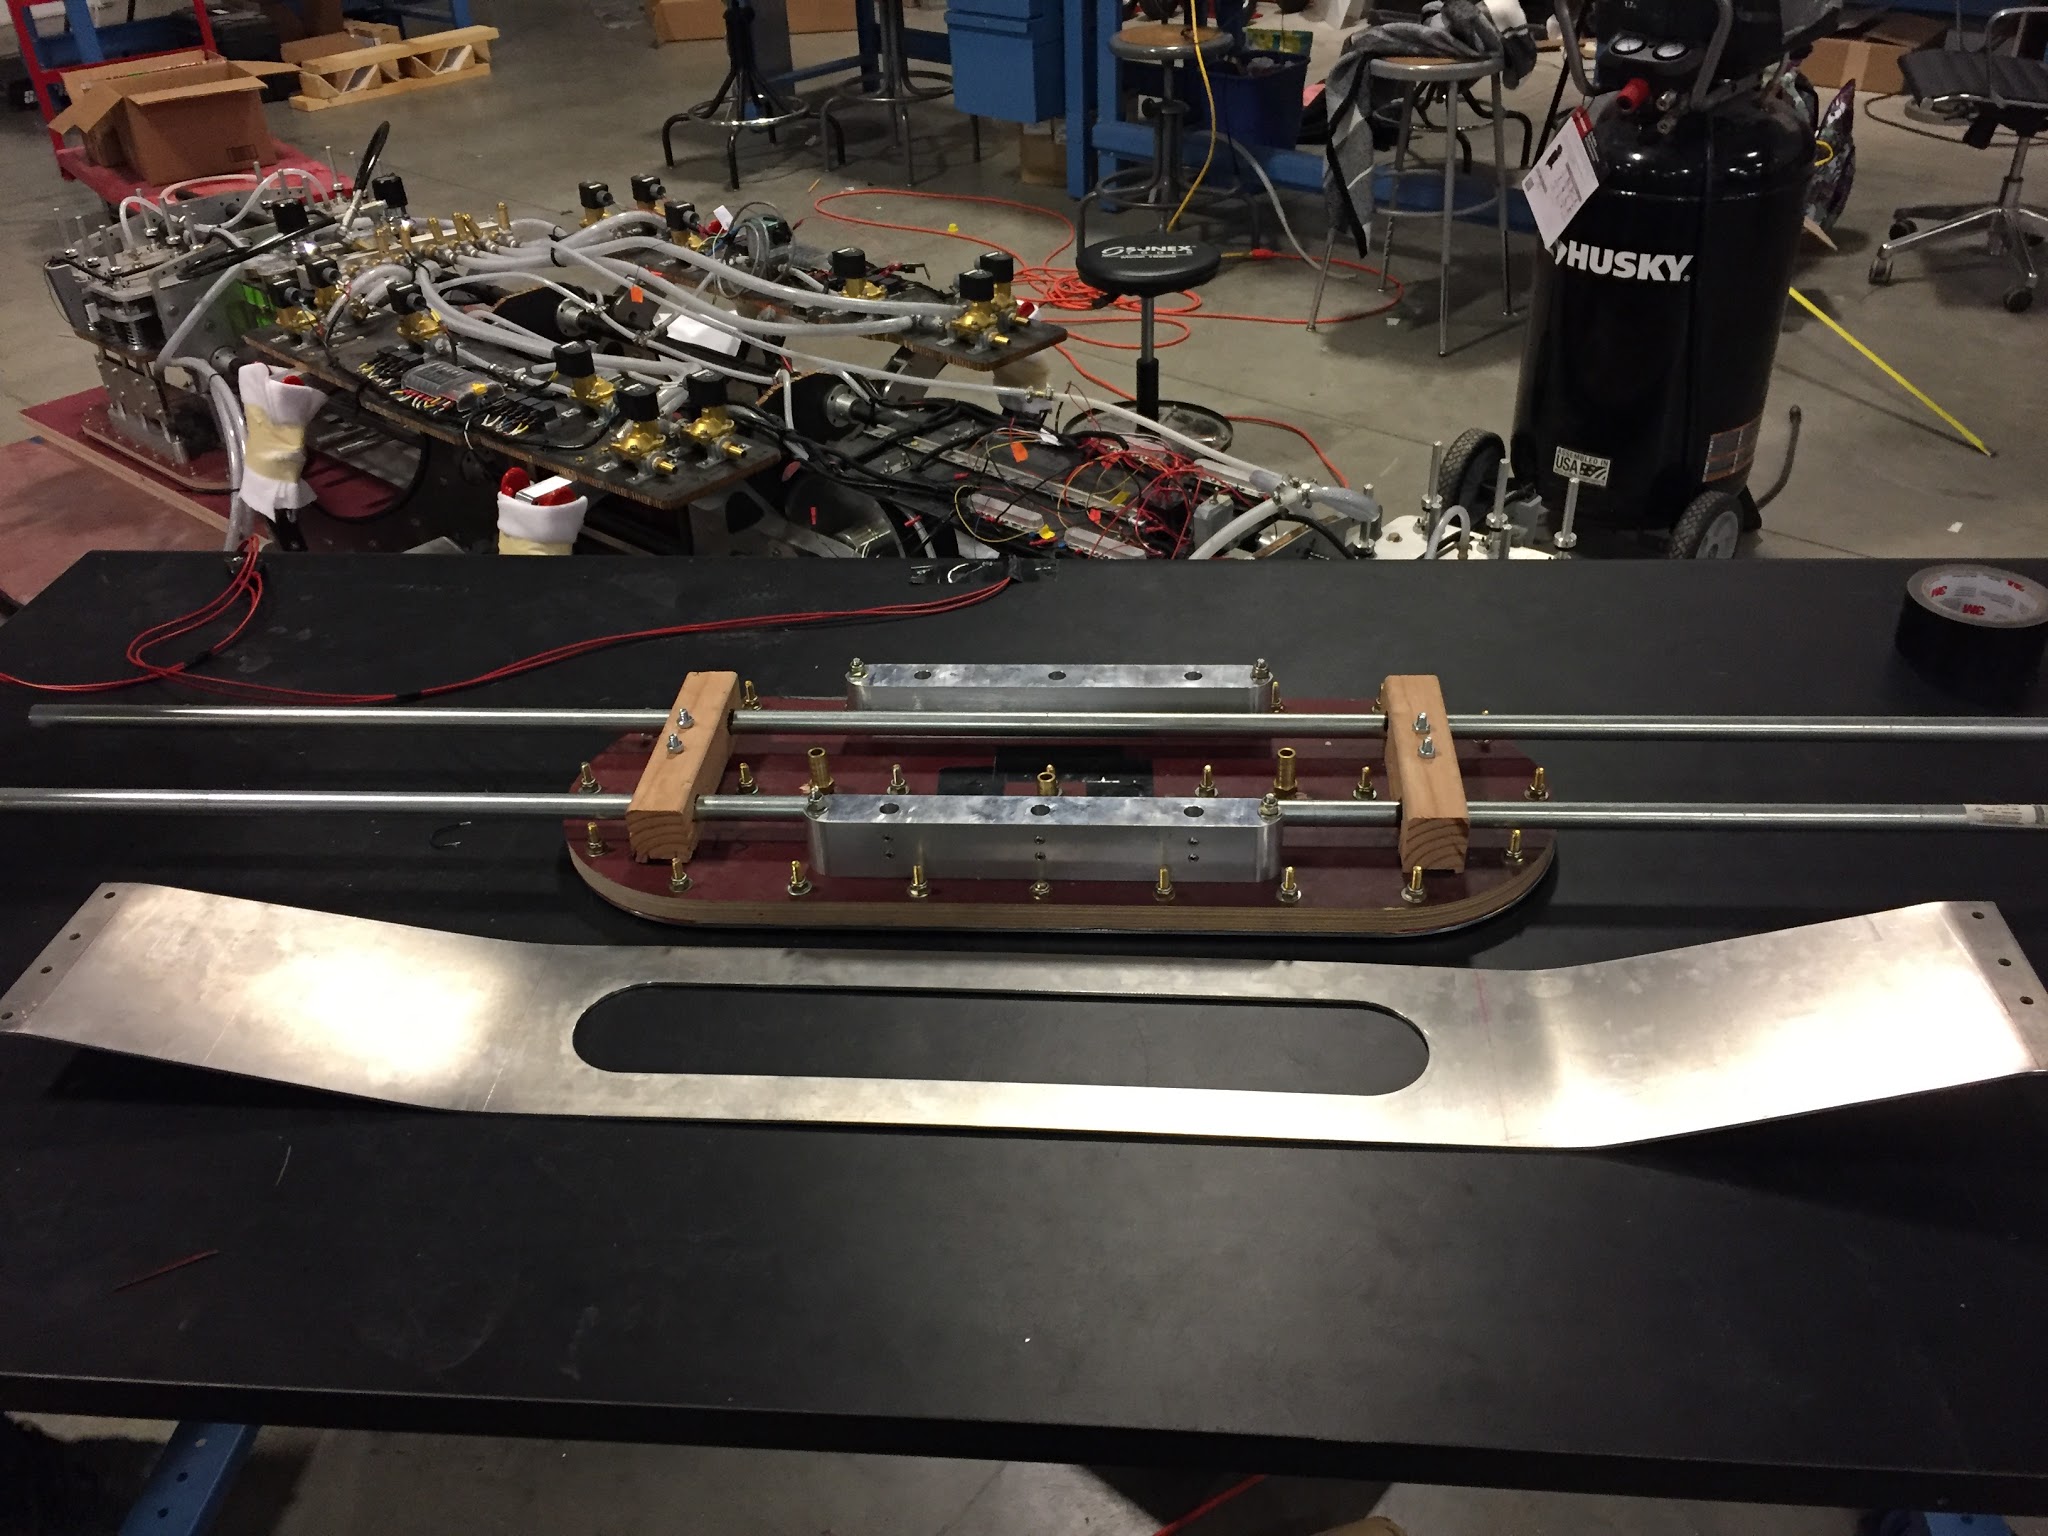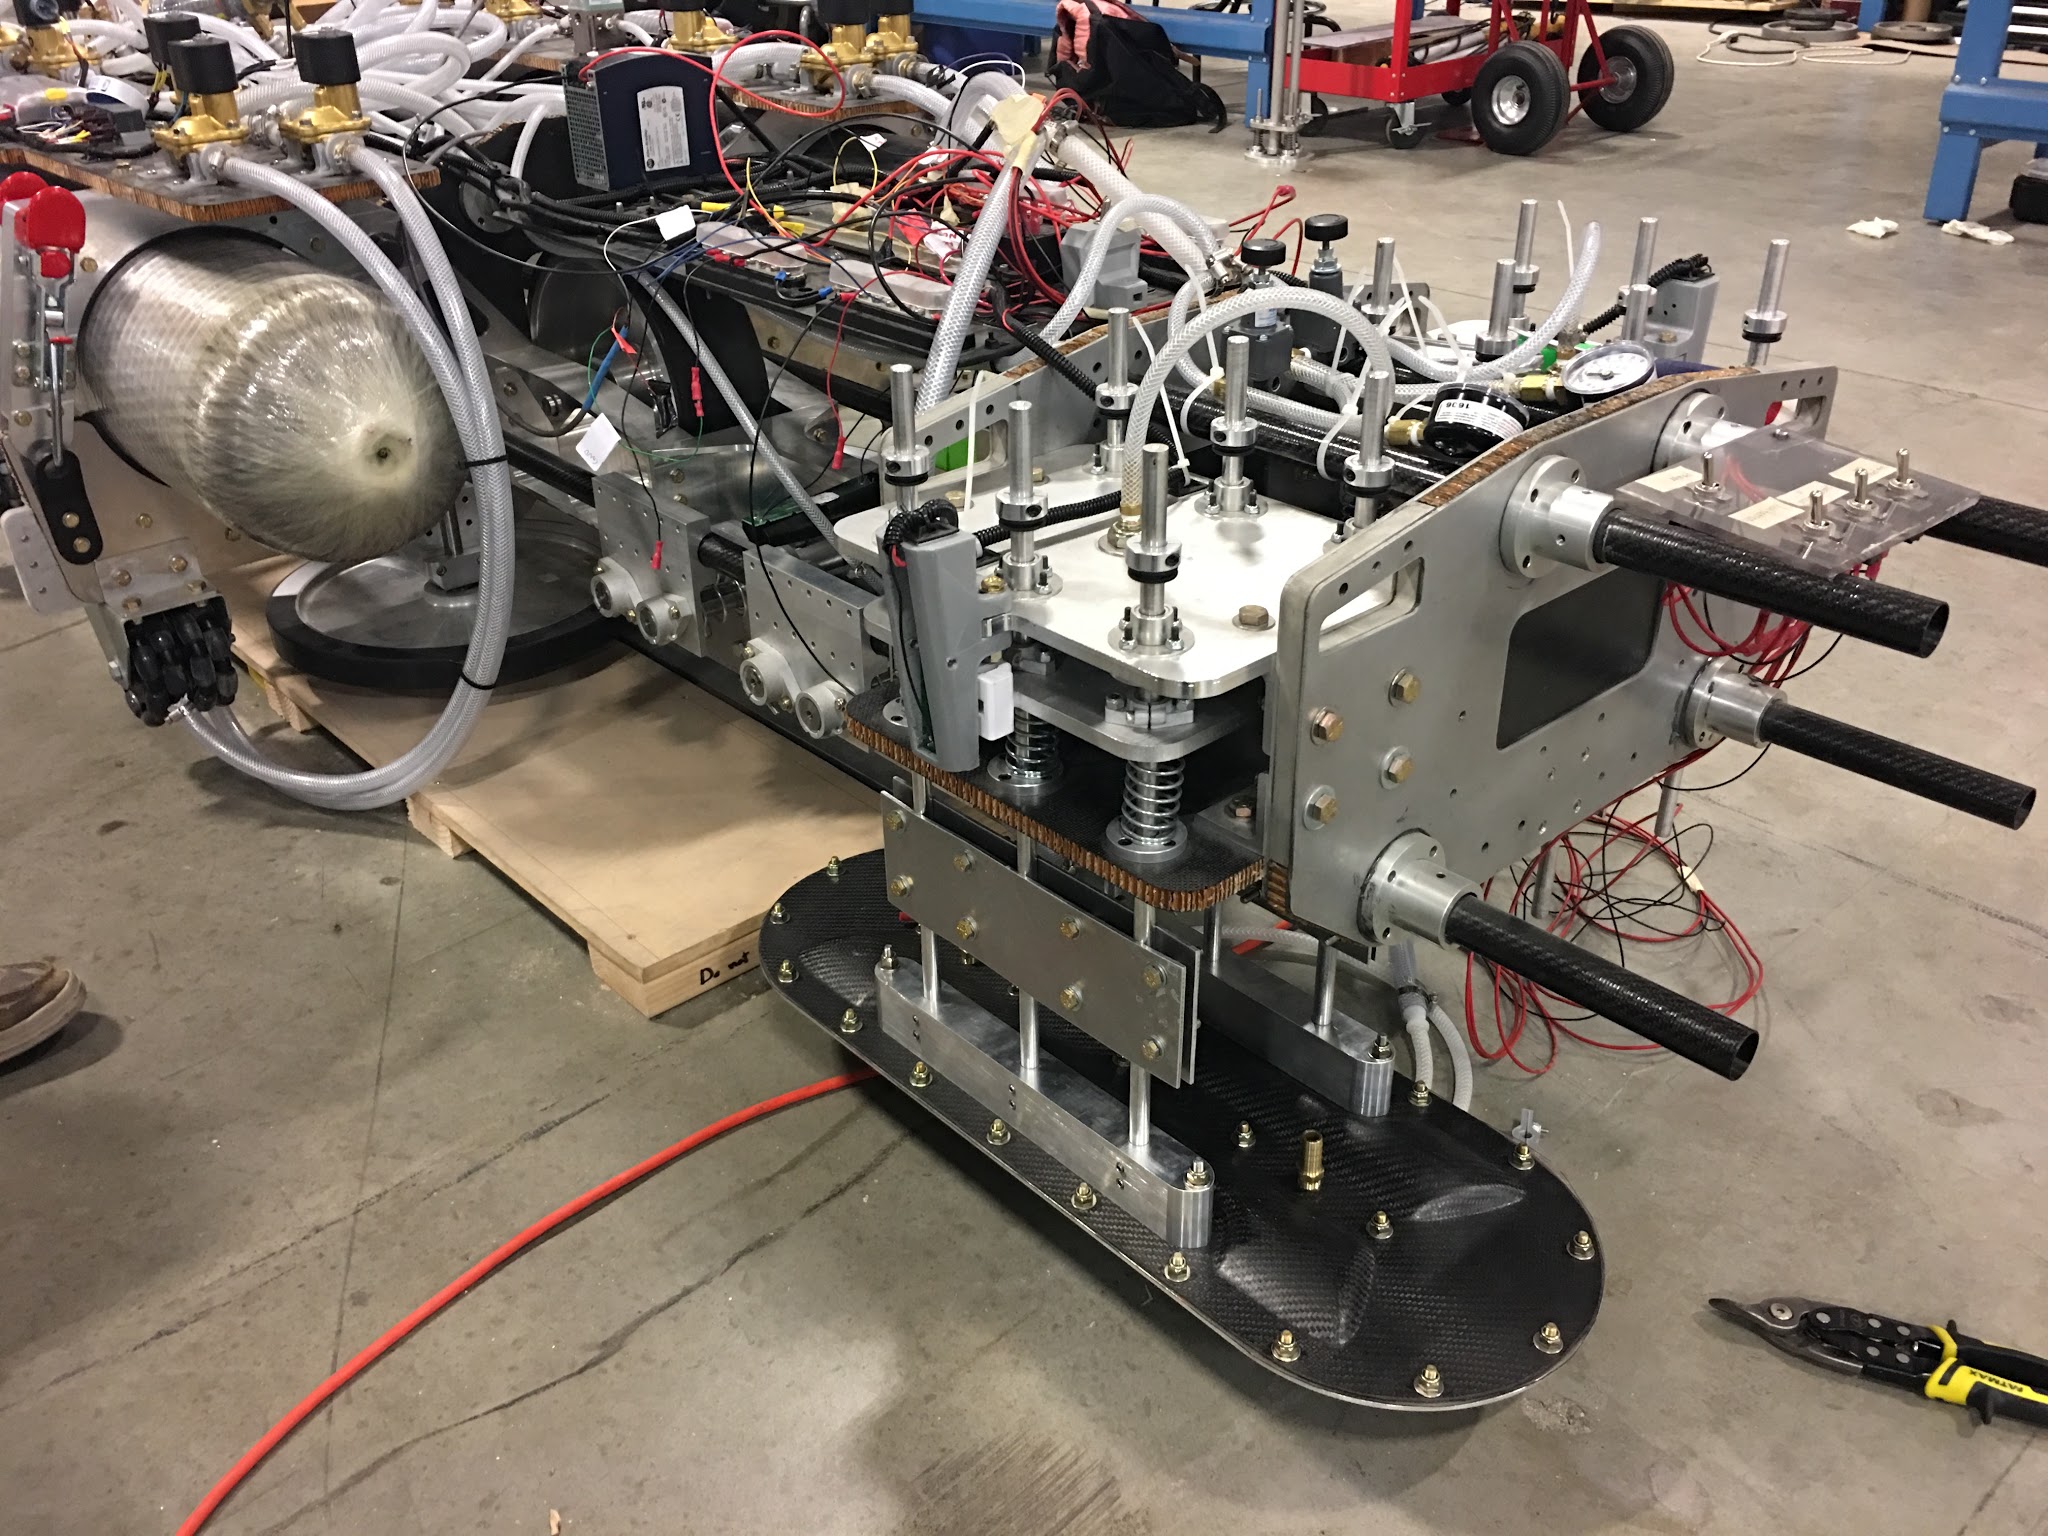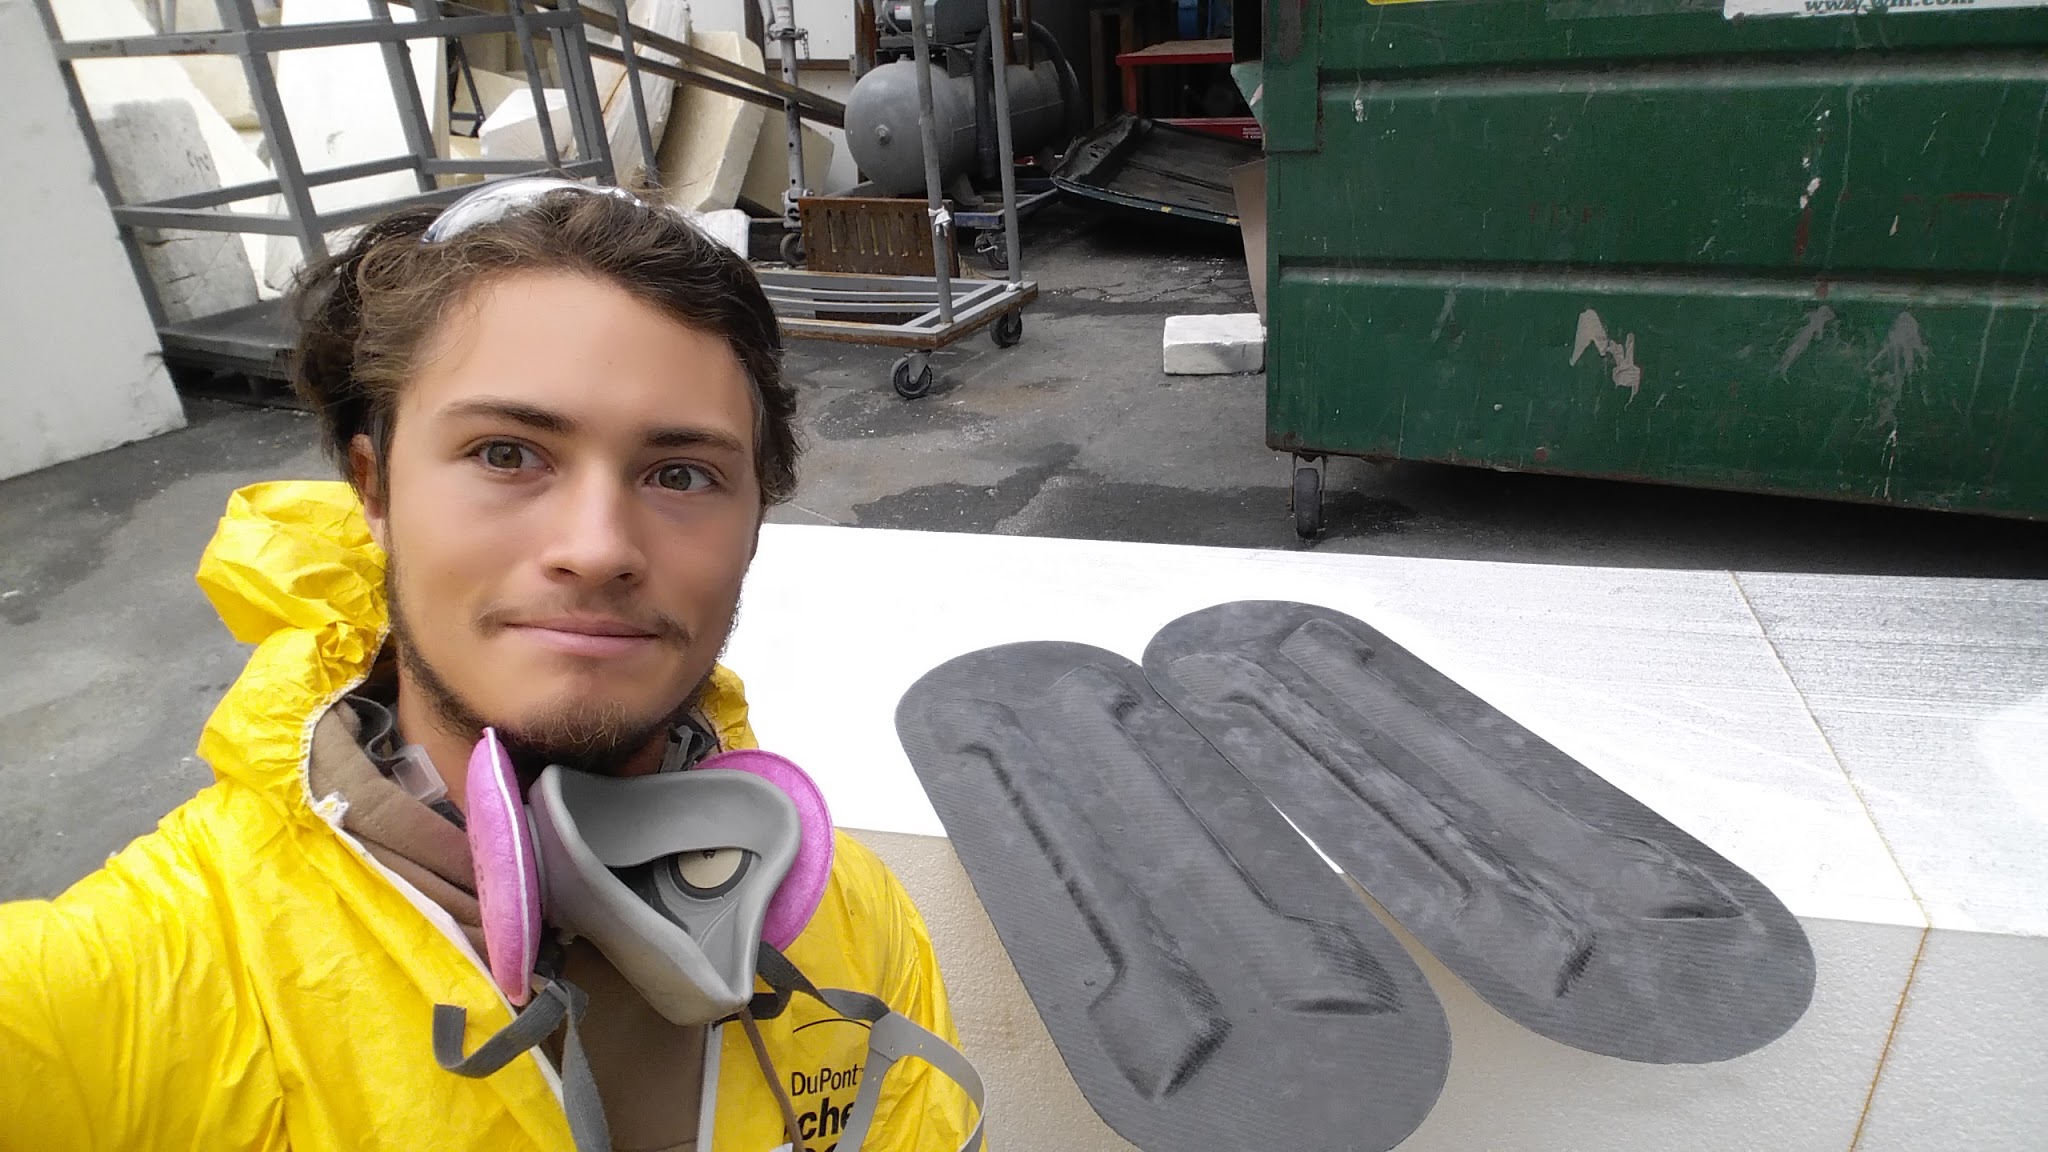
The levitation subsystem was one of the most challenging systems of the hyperloop pod. My team and I developed a new technology in the course of a few months from conception to prototype.
Air based levitation systems do exist but they are not designed to go 230 mph. Current air based systems are designed for laboratory settings and capable of lifting massive objects (such as the large hadron collider) a few microns off of the floor.
Our system had the requirement of having excellent impact resistance while maintaining a thin film a few microns thick. These requirements forced us to experiment with different material stiffness and hardness.
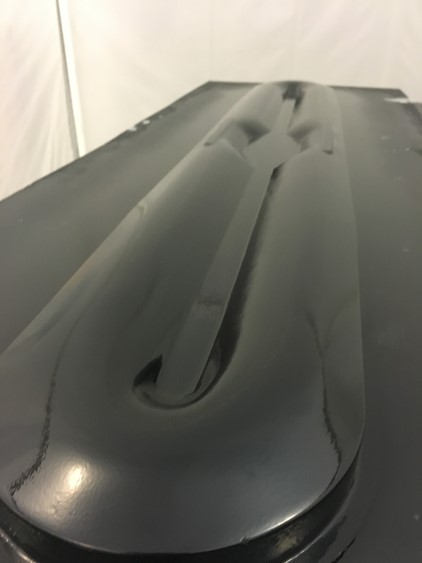
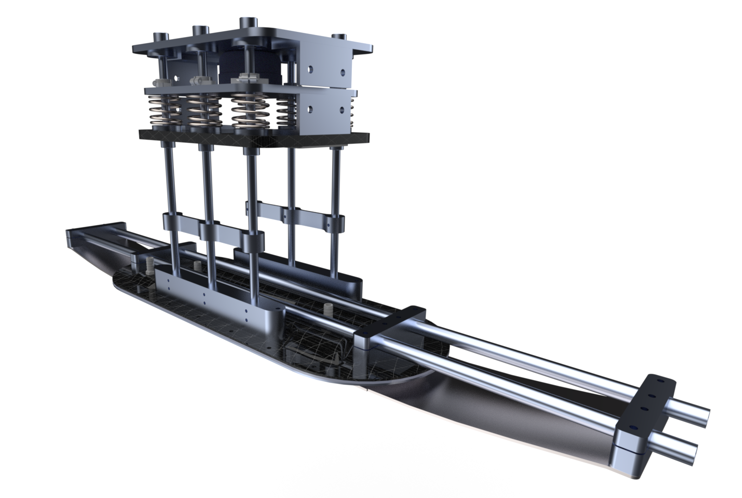
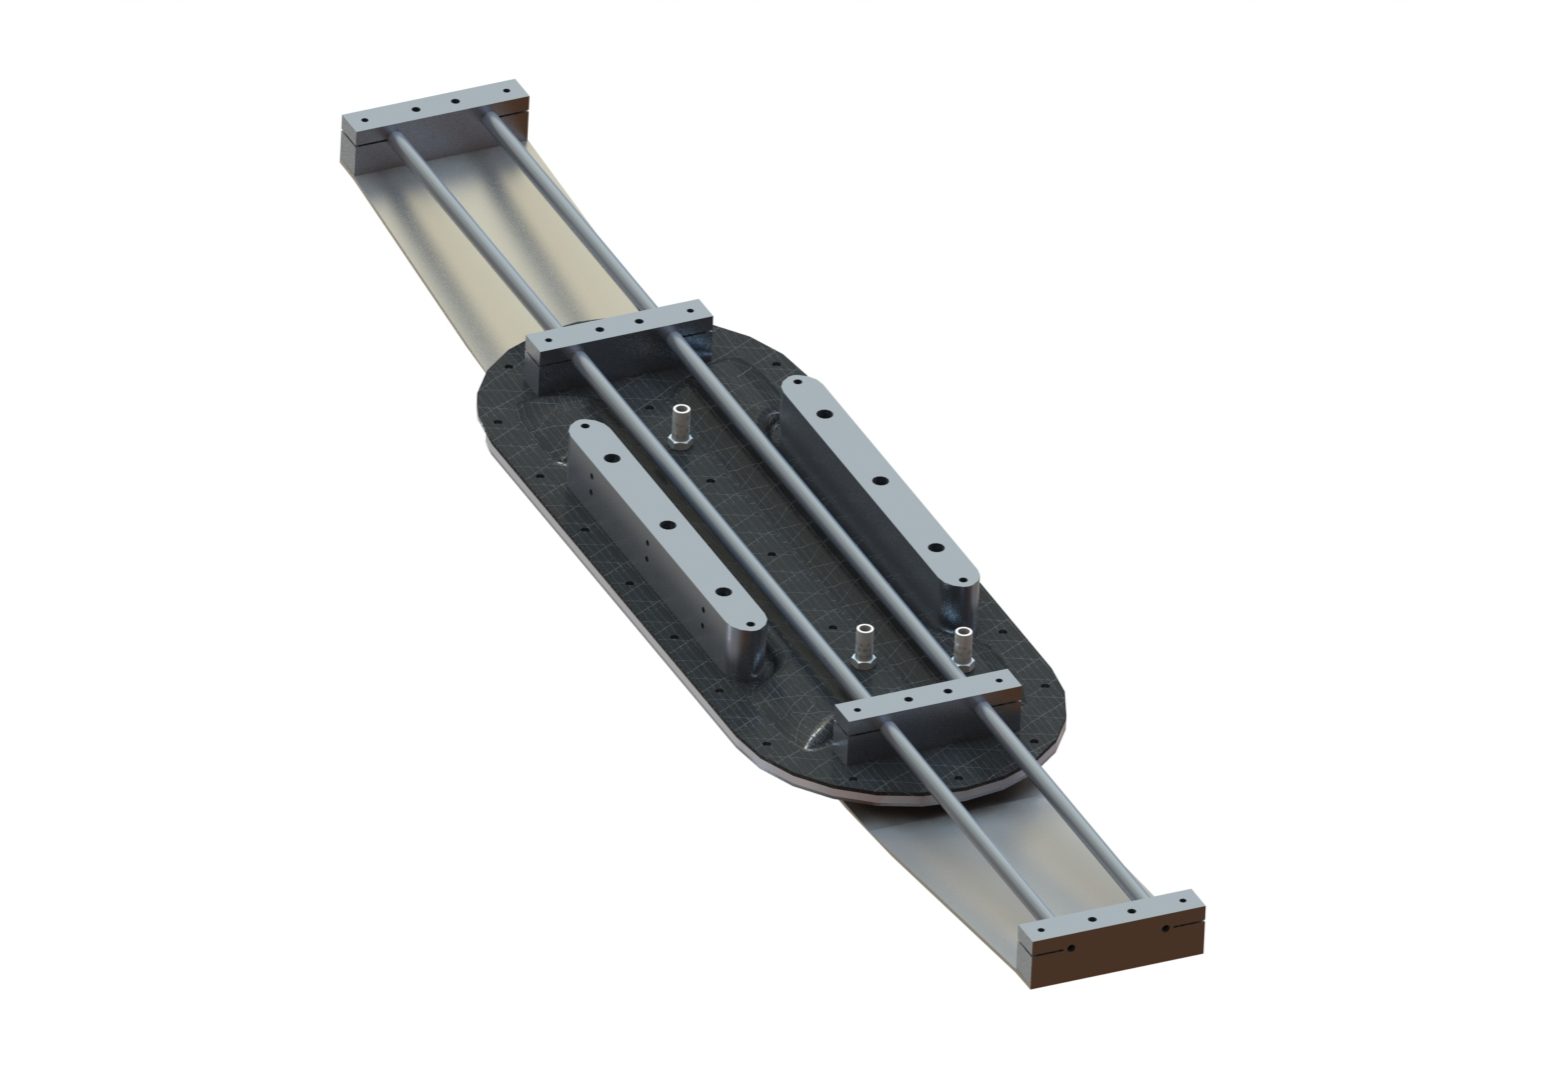
Developing the skis took several iterations. Our design process was creating a solidworks model like the one shown above, then running impact simulations on the skirt geometry (with Ansys Explicit Dynamics). Once we found a geometry with acceptable materials we started the build phase.
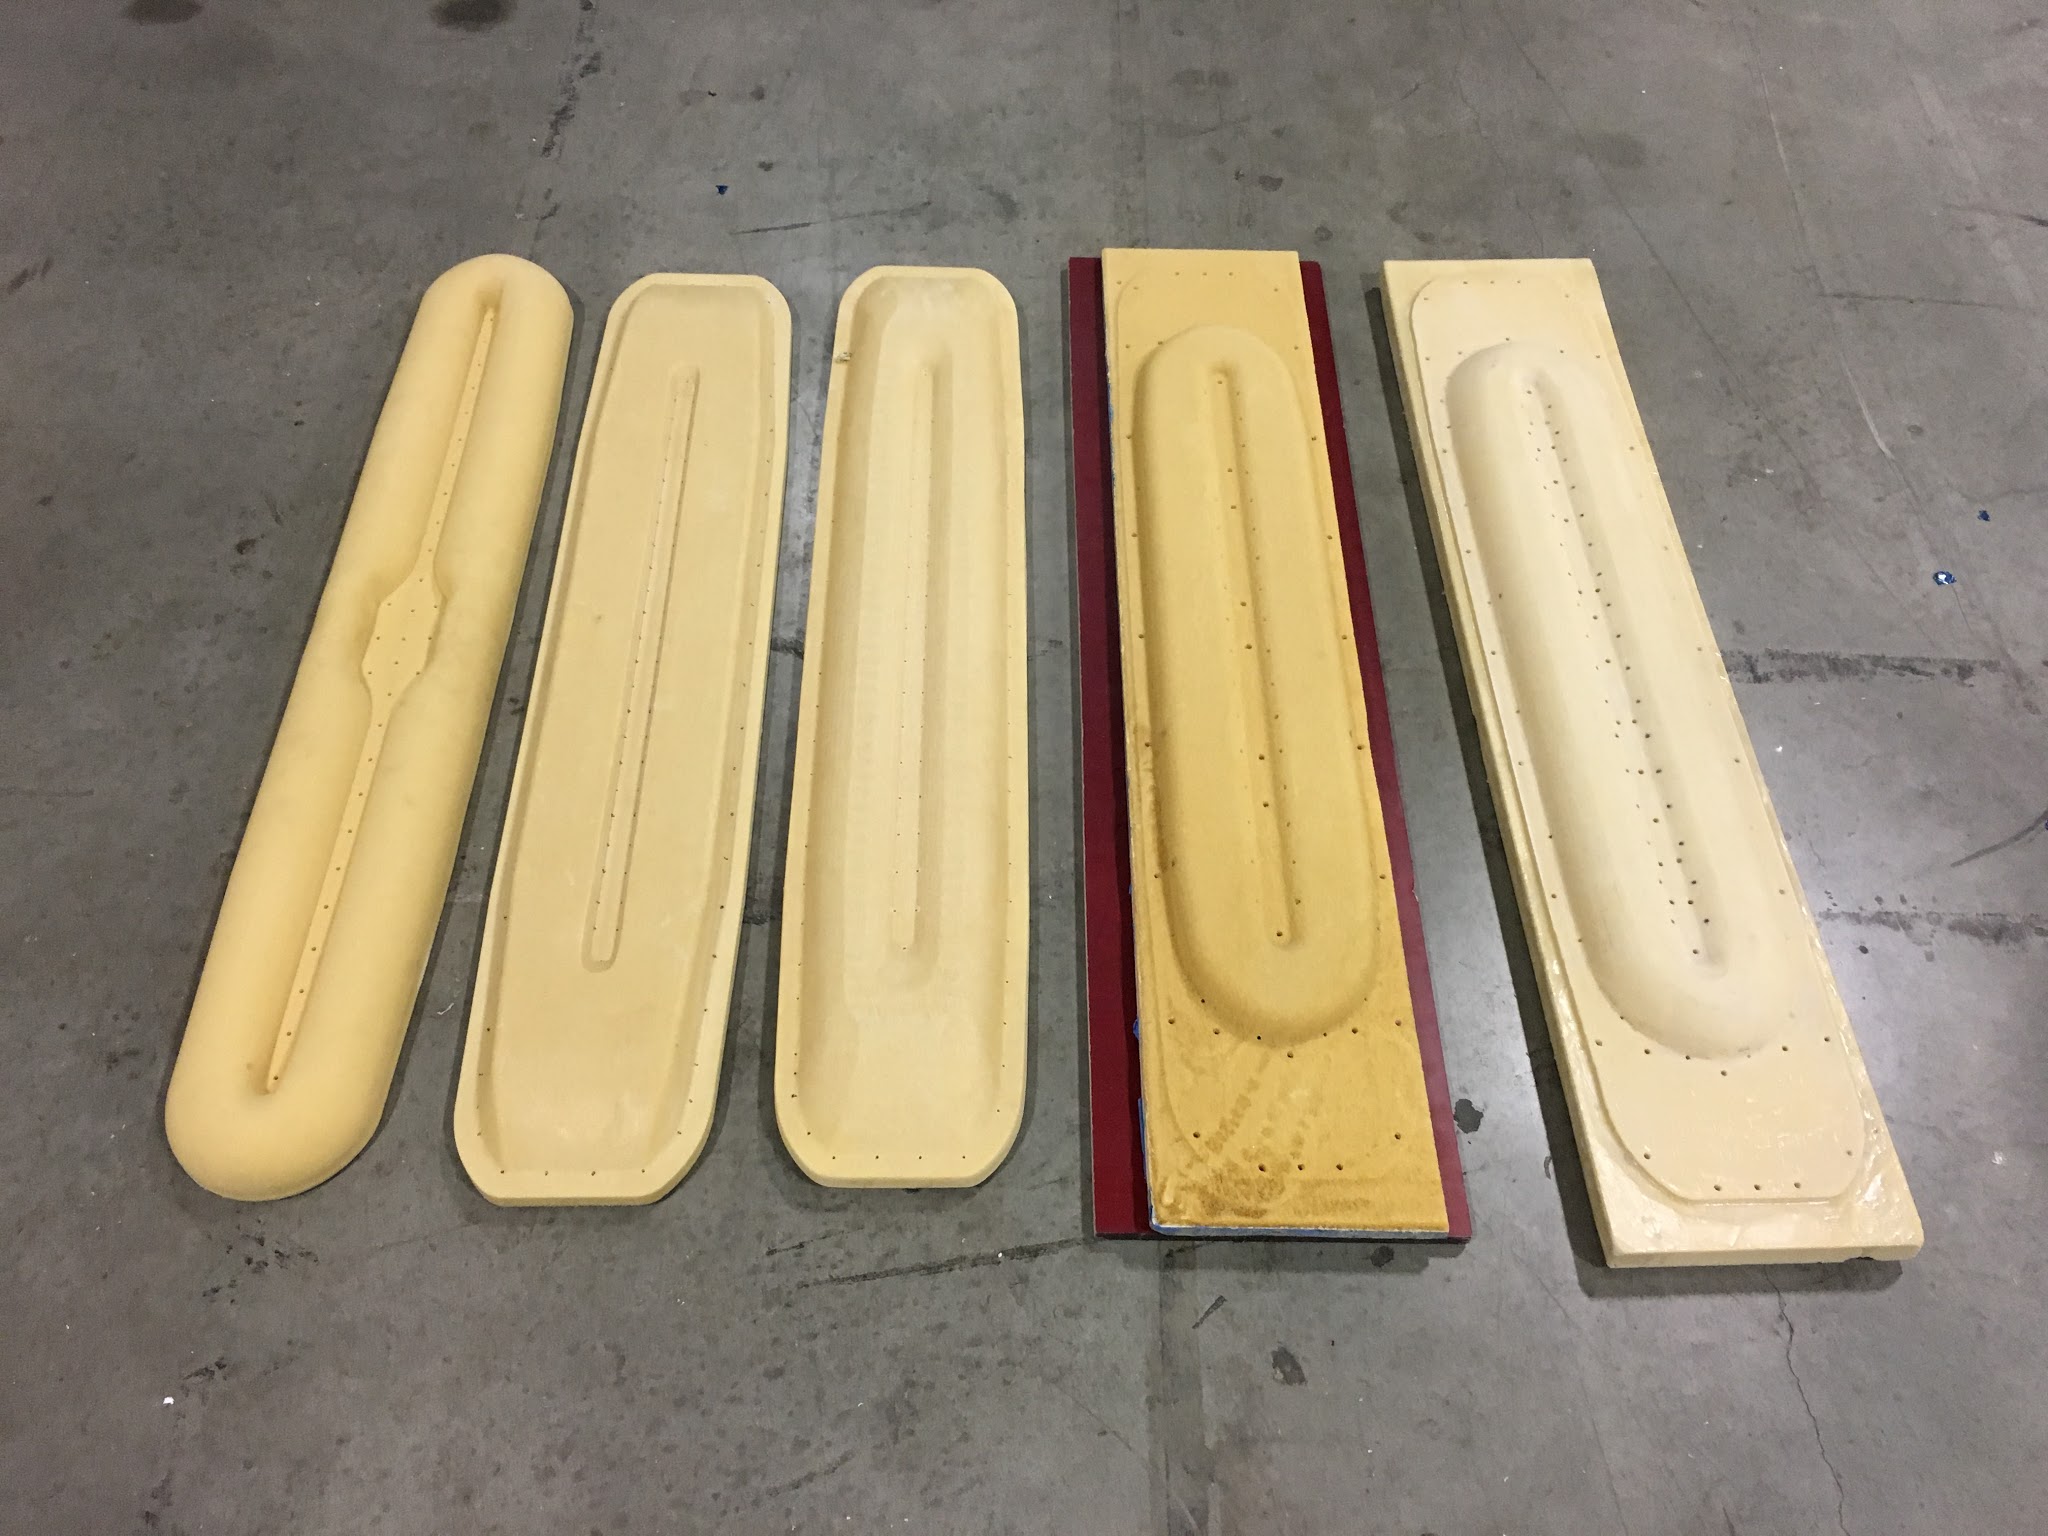
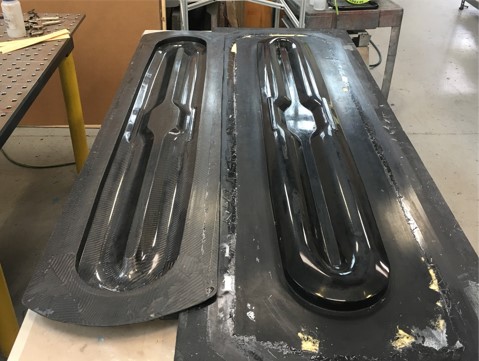
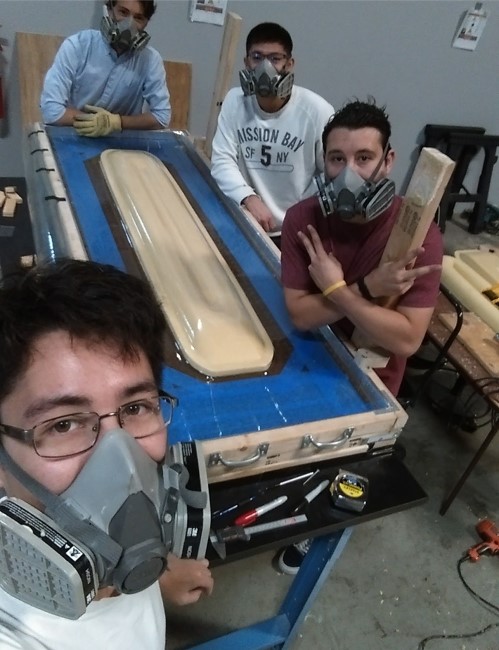
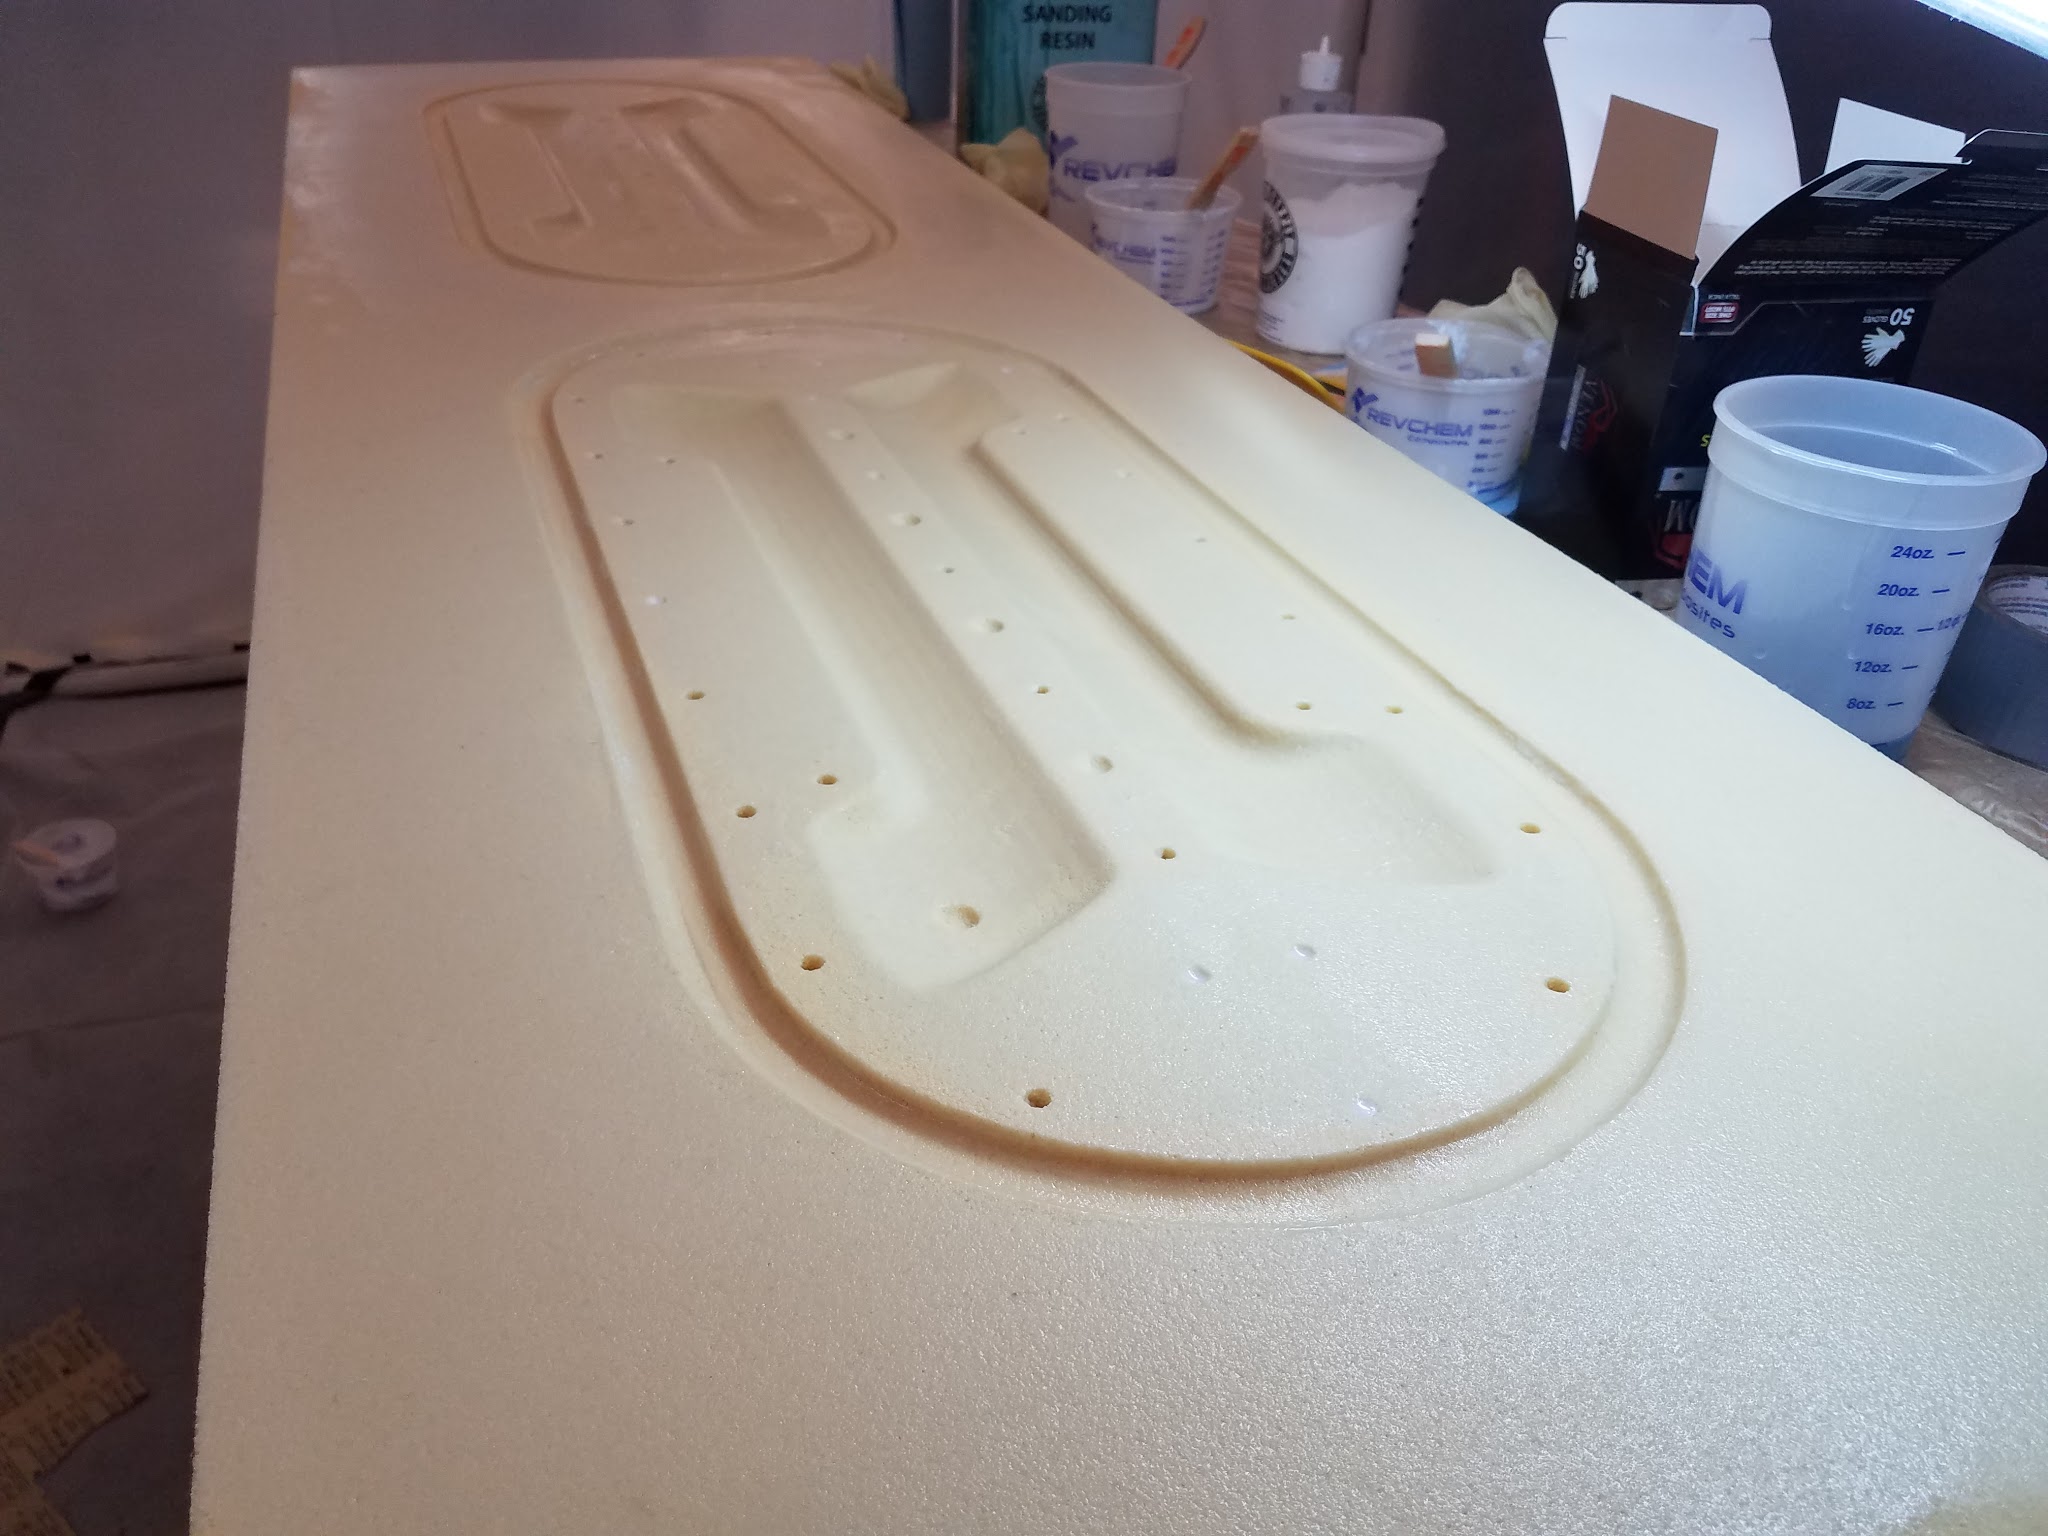
The process in creating a ski started with creating the foam block from a mix and pour foam. I created a wooden box, mixed the foam and then poured it in. I would wait a few days to let the foam cure and then I would take it to Urban workshop (A local shop that allowed us to use their tools) where I would flatten out the foam and then use a laguna CNC router to machine the geometry of the ski and the skirt.
After the geometry was machined the surfaces had to be cleaned up by filling the voids left by bubbles. We used a mixture of epoxy and Q-cell to fill in these voids and a lot of sanding to not lose the geometry. Finally we sprayed duratec to seal the surface.
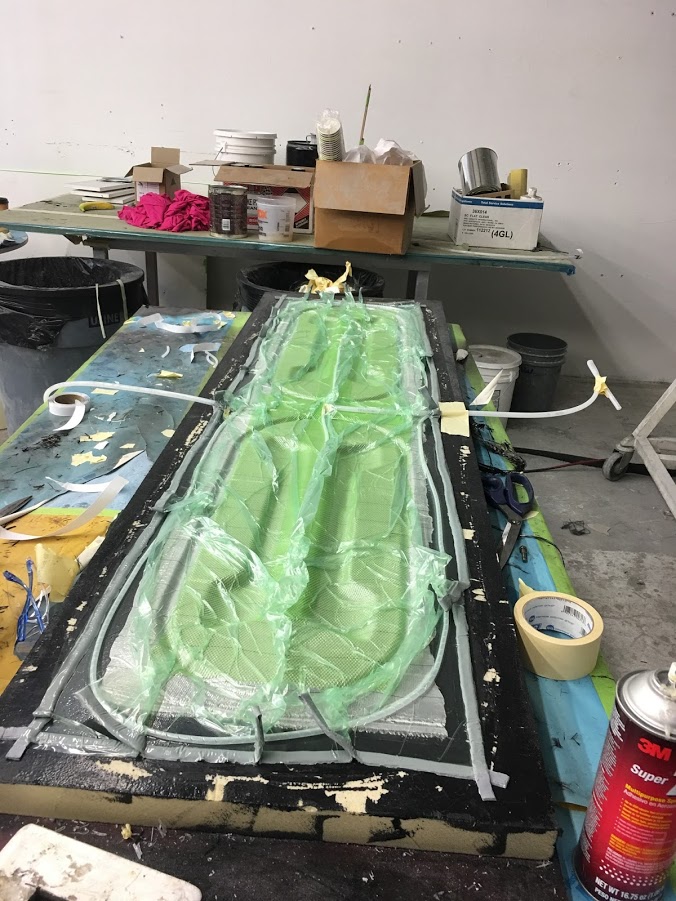
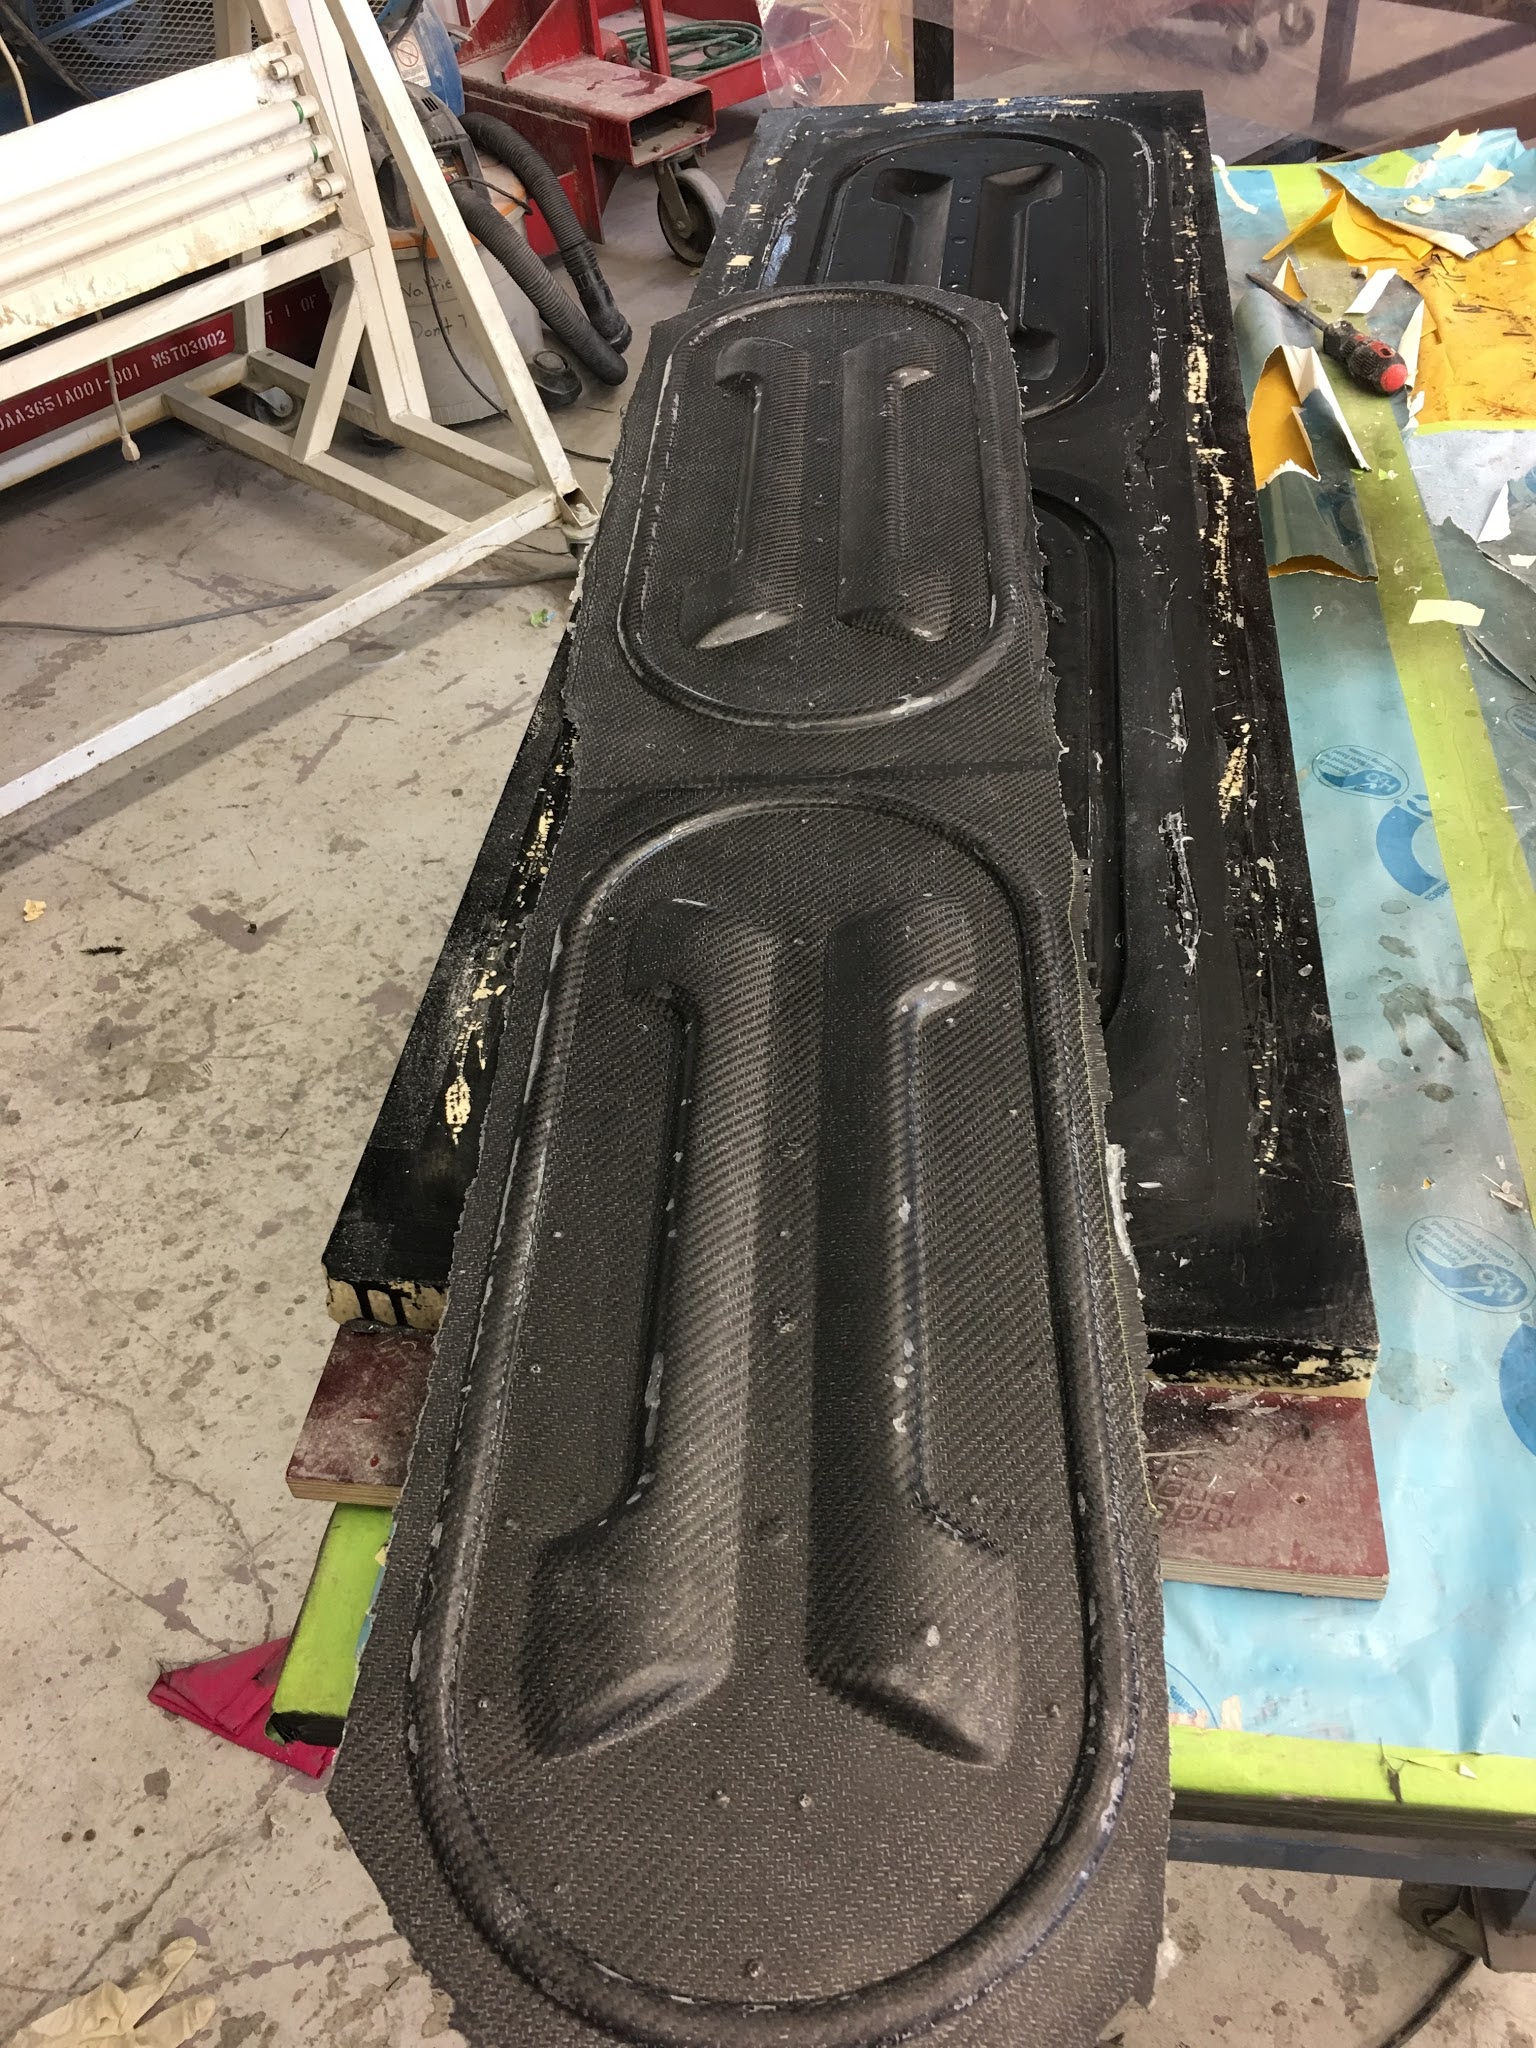
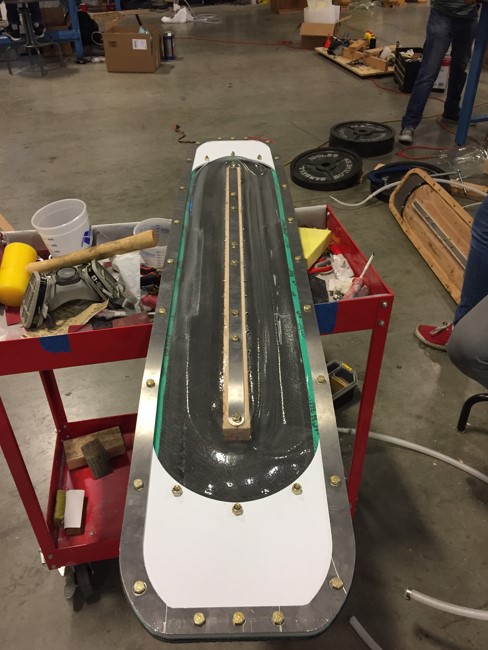
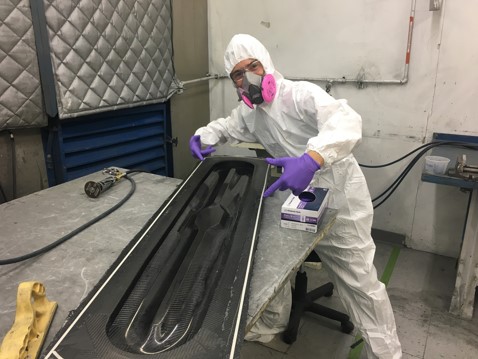
Once the meticules process of creating the mold was complete my team and I would start laying up the carbon fiber for either a wet layup or a resin infusion process. the pictures shown below illustrate the resin infusion where we laid down eight layers of carbon fiber in a 0-45-90-45 ply schedule. We would spray a bonding agent between the layers in order to have them stick together. The fabric had to be massage into the contours of the mold geometry. This process took a bit of time but was not time limited unlike the wet layup process.
Finally when all the layers were placed we applied peel ply, an infusion mesh, and a tube system to direct the resin and spread it evenly through the surface. Once the vacuum was pulled and everything looked good we mixed the resin and introduced it into the mold. Then it was a waiting game to see how the parts came out. We had to make three attempts in order to get four good skies, not bad!
When the part cured completely I trimed the excess carbon and and drilled out the holes then the assembly process and testing can begin! Testing the skis was the hardest part of the process. We needed to ensure that the ski could provide a low friction enviroment without vibrations, leaks, or wear. This task took several iterations of skis and skirts and creative testing equipment (because it is very hard to simulate 230 mph!) The picture shown below exhibits some of the assmbly work that went into putting the ski together.
