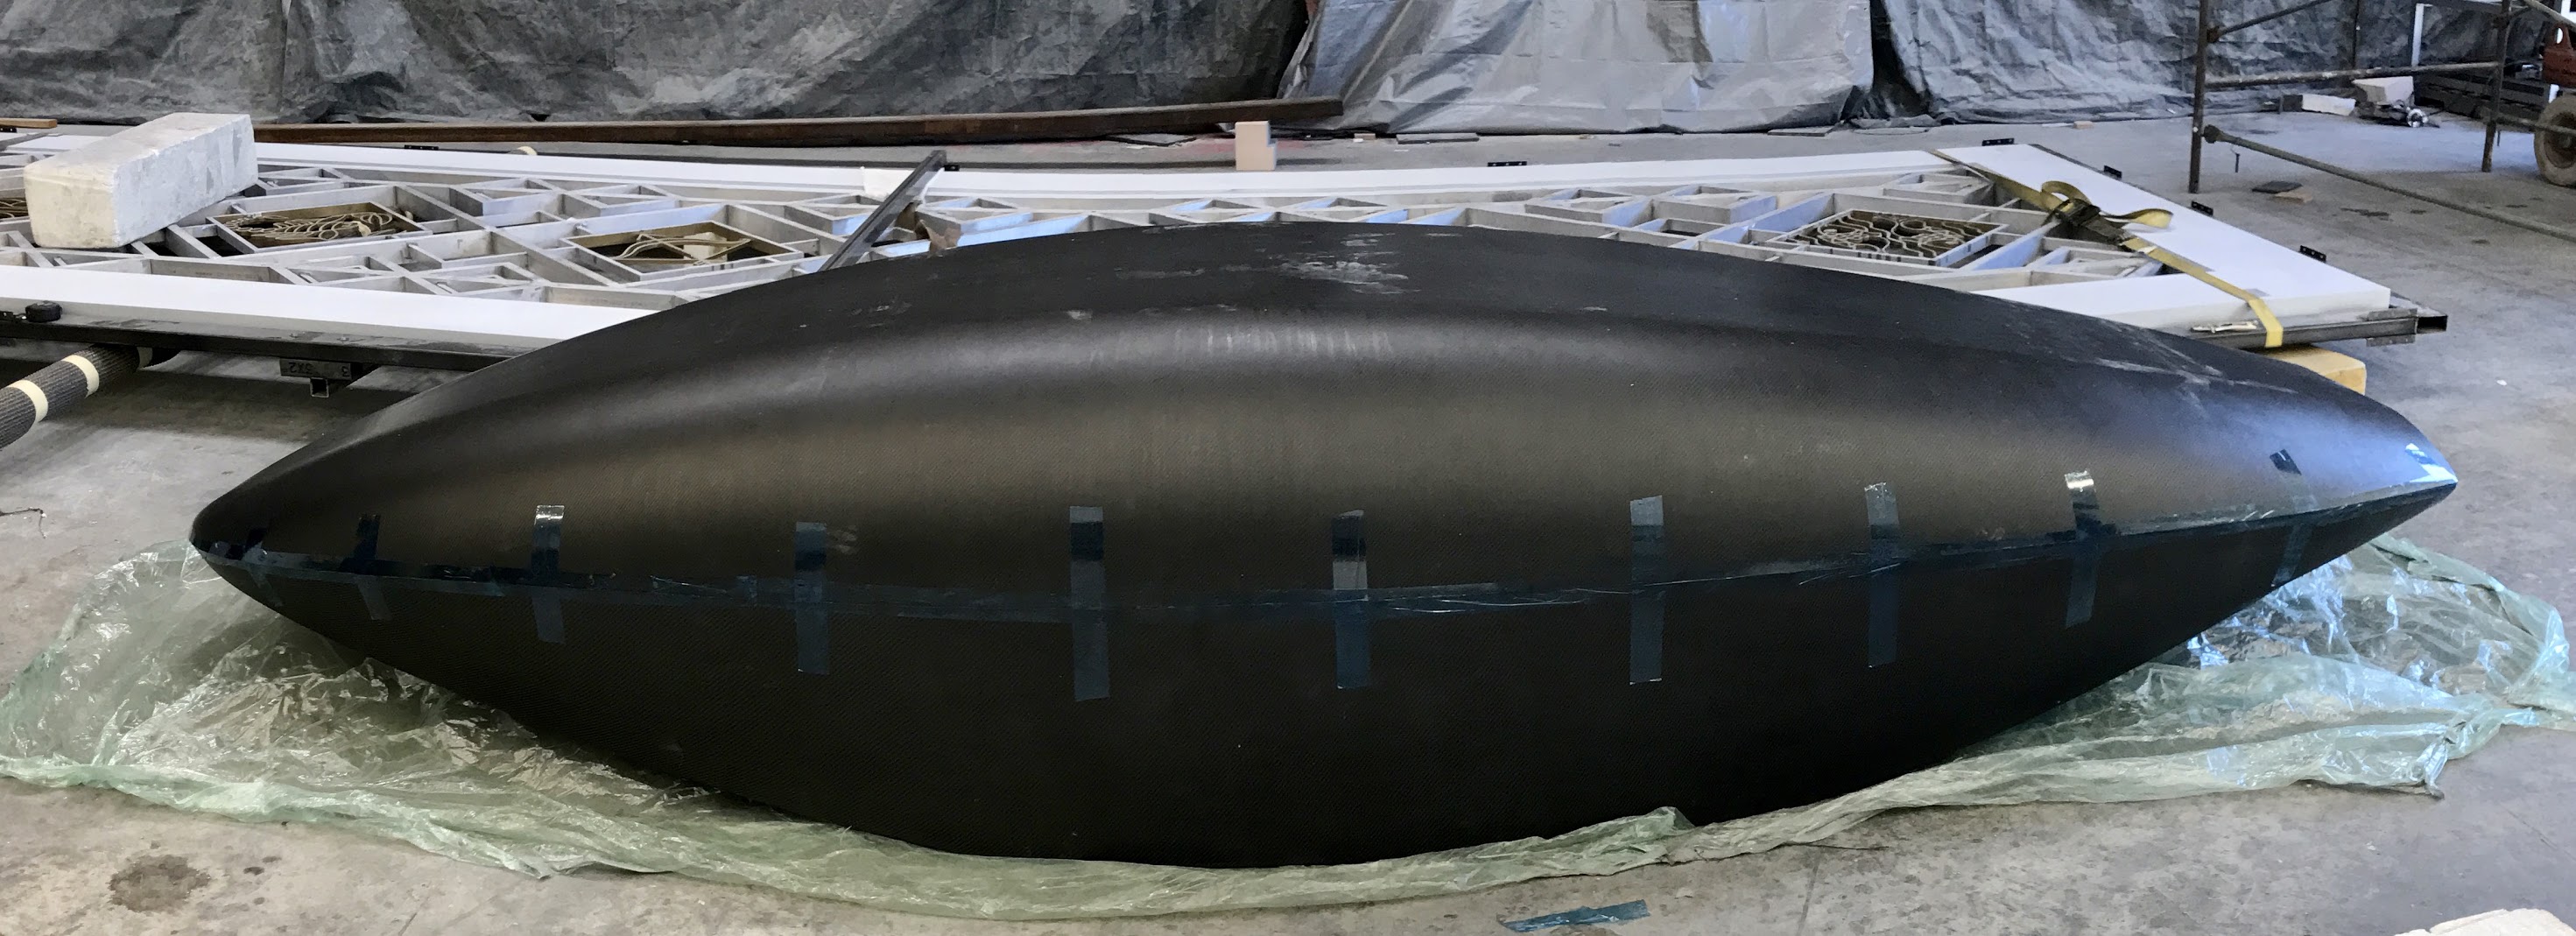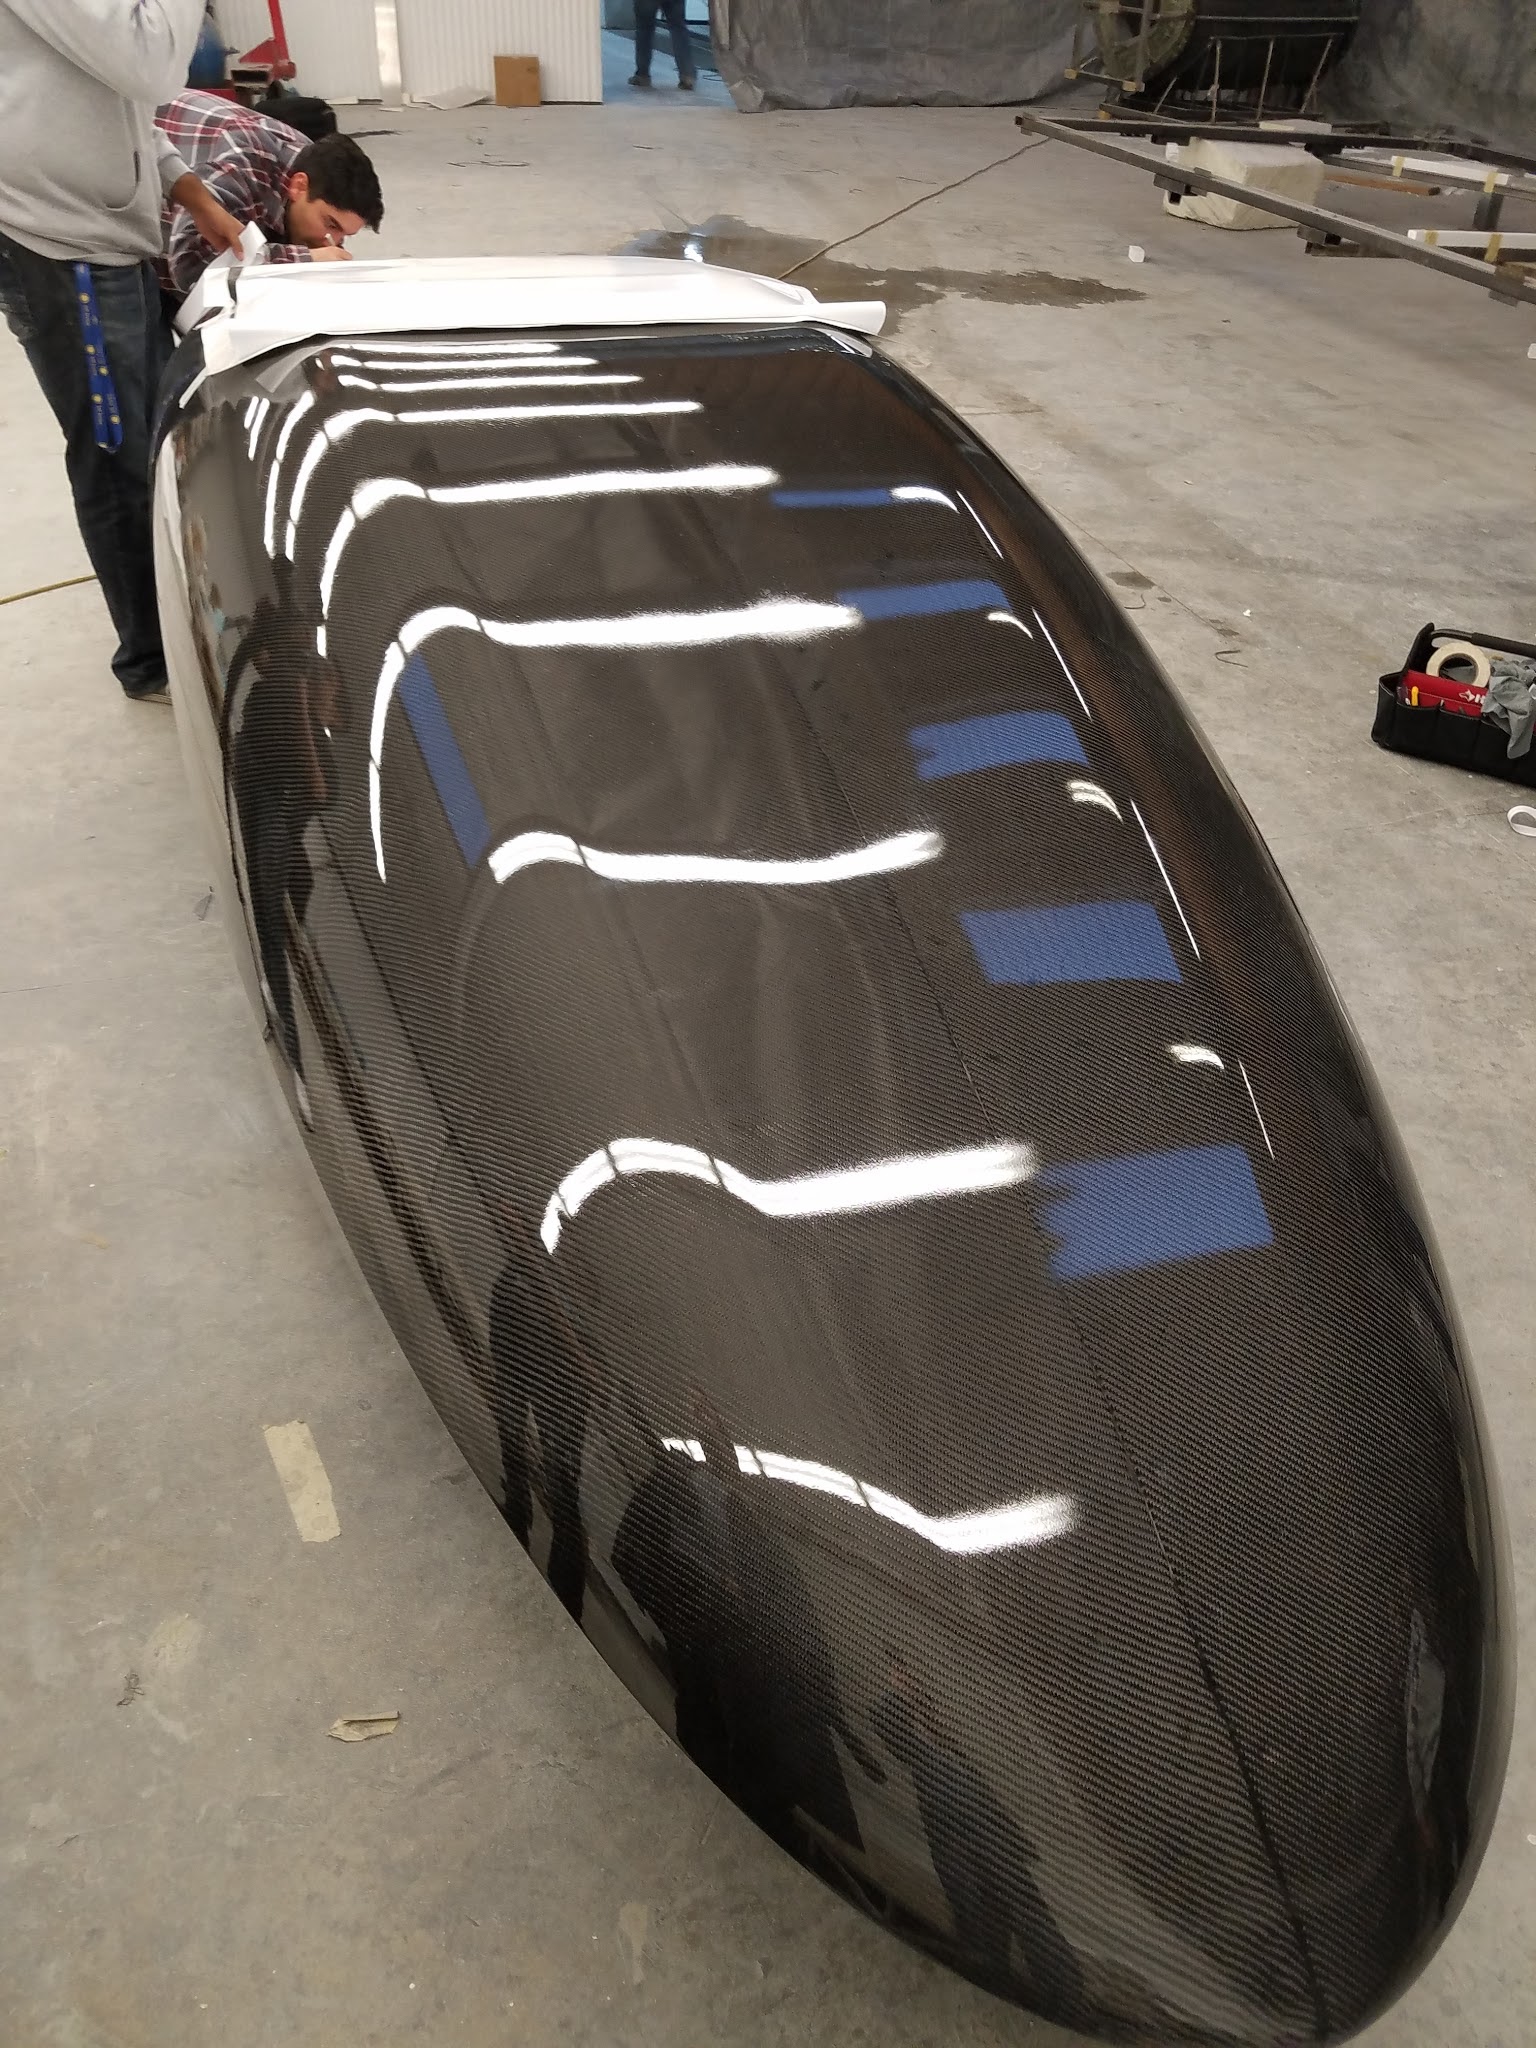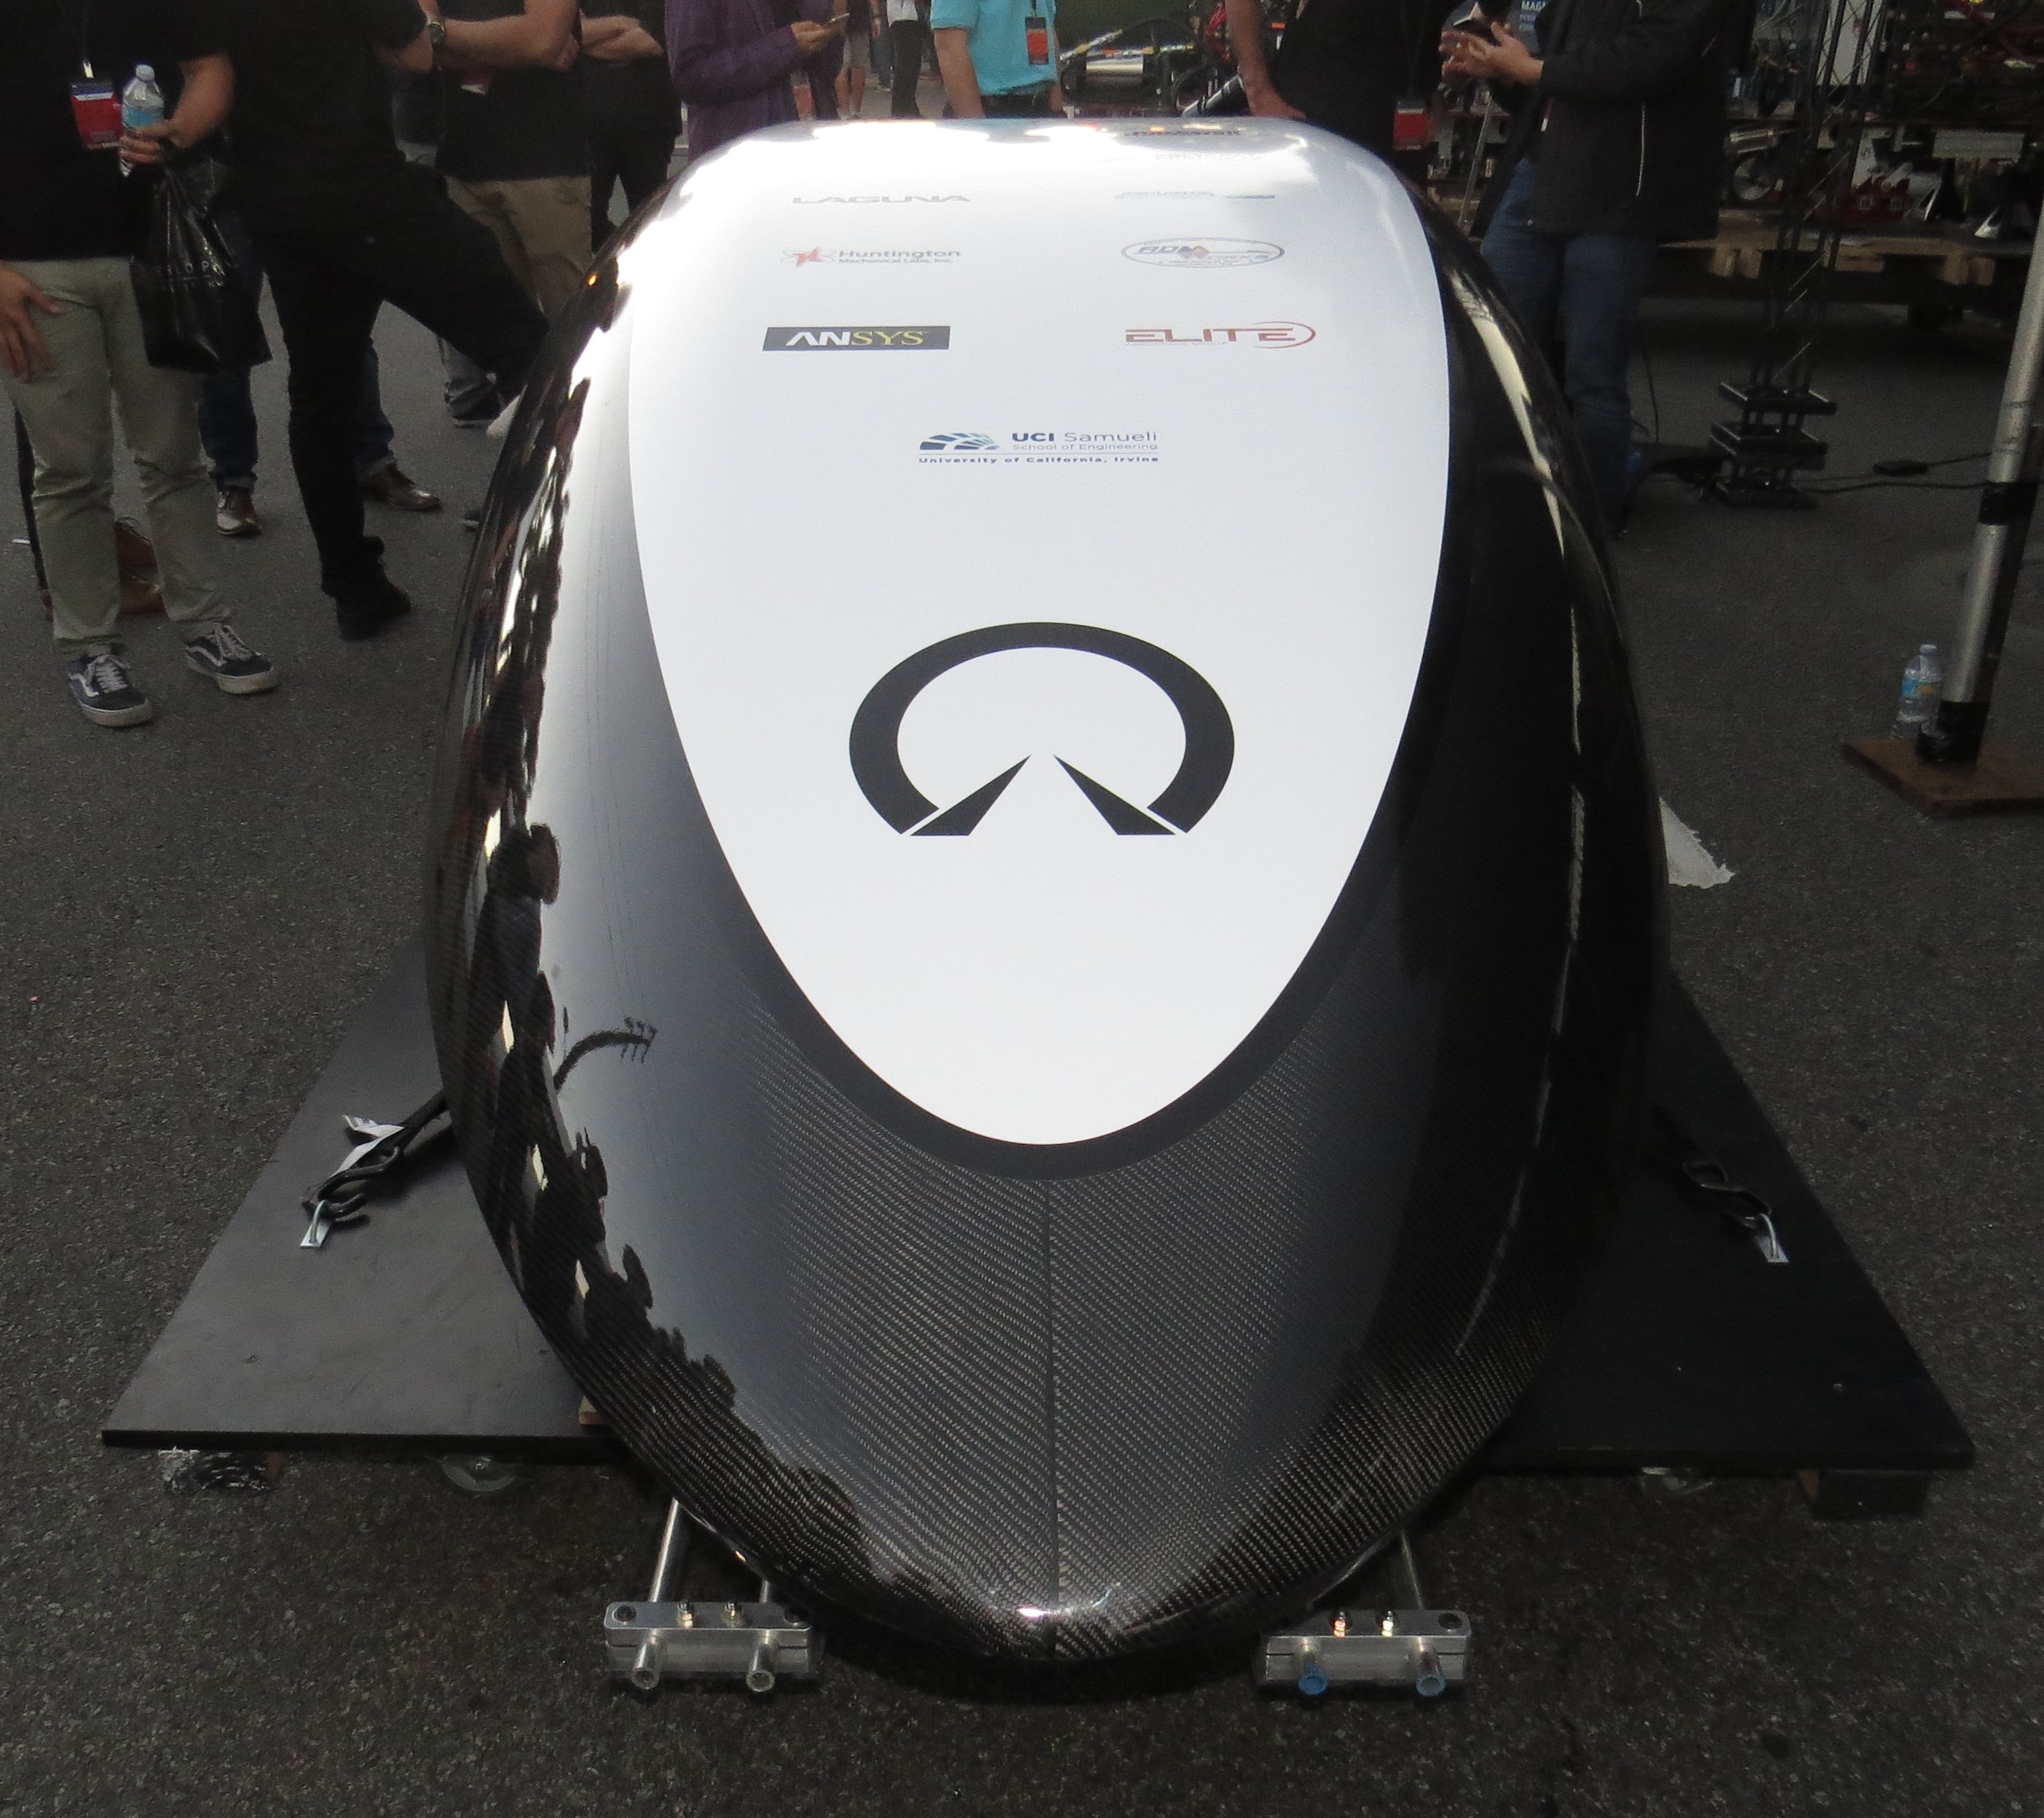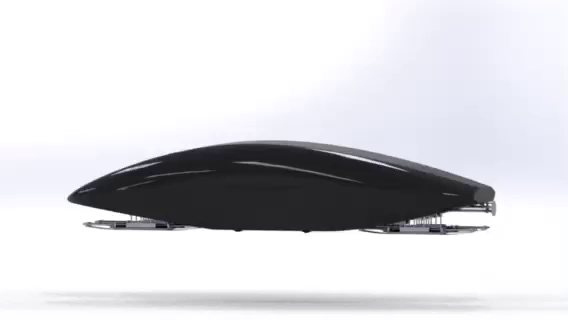
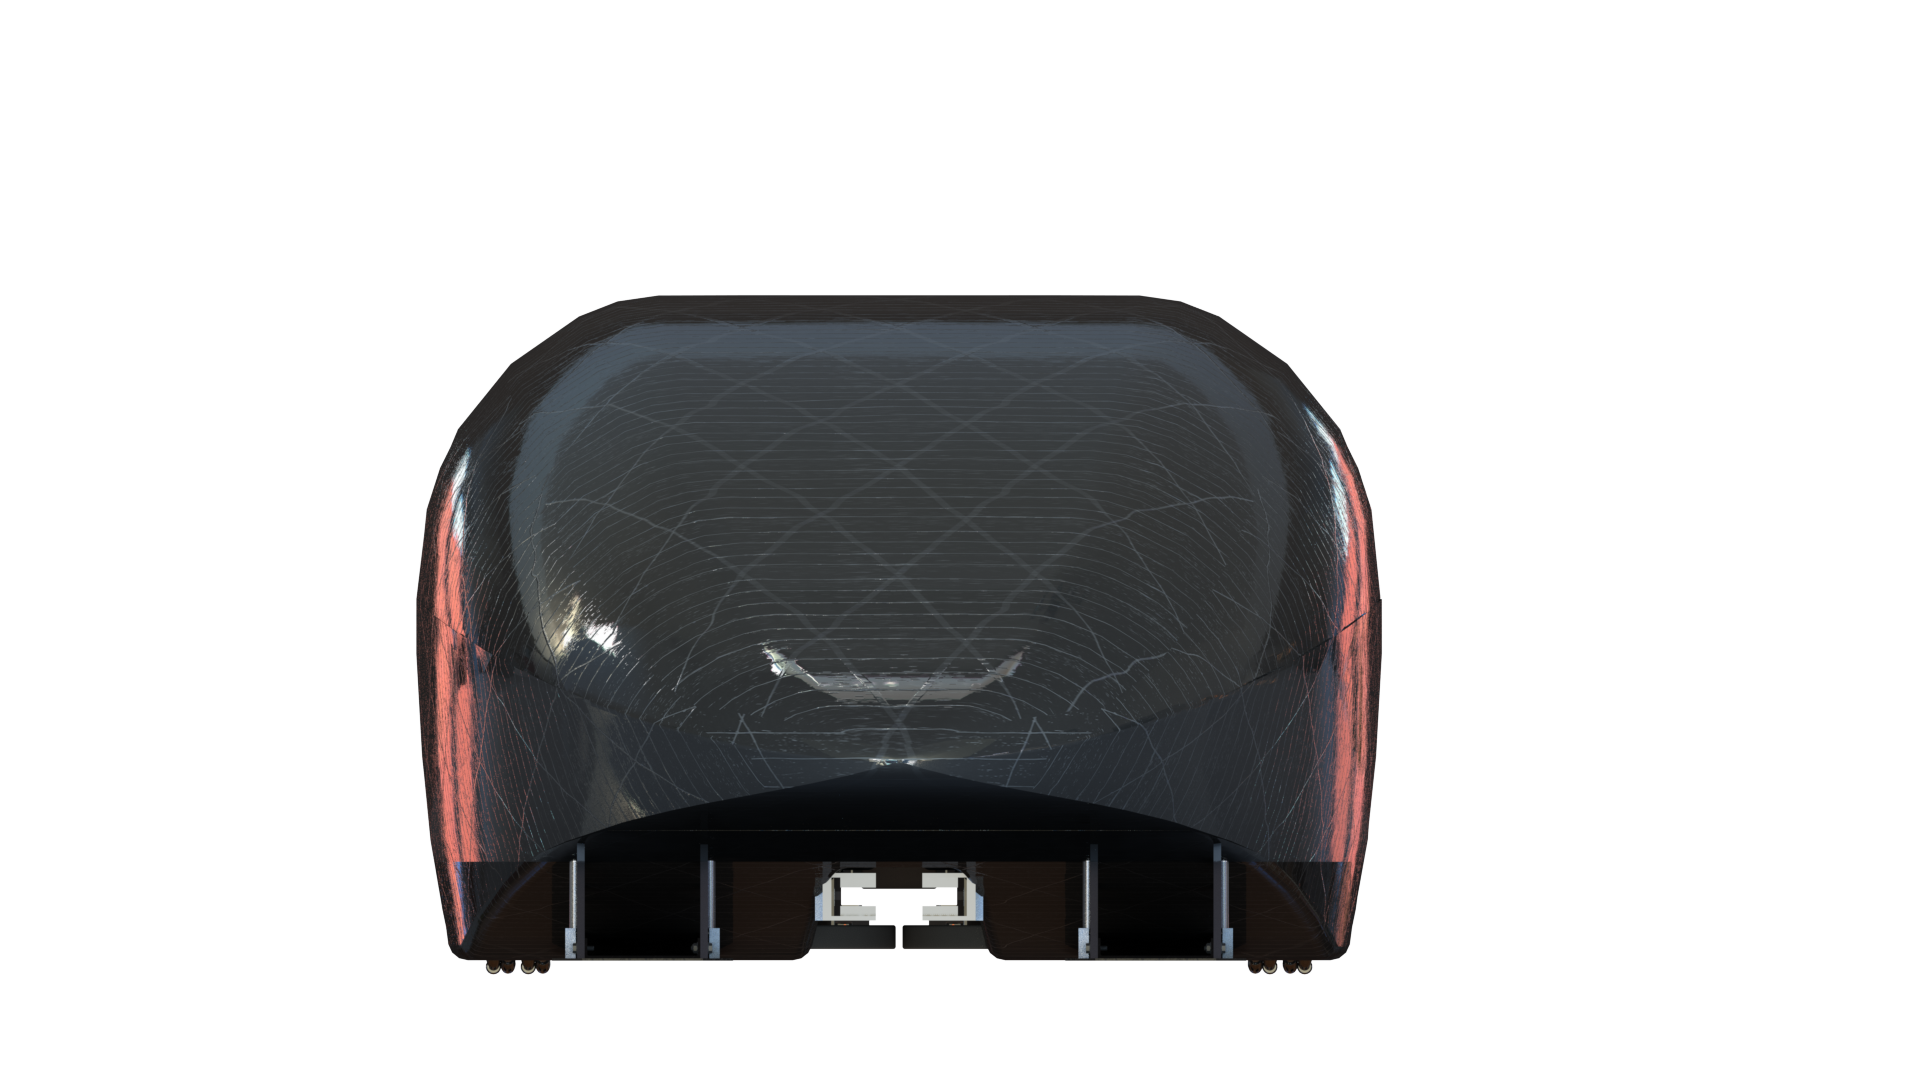
The fearing of the hyperloop for my team was a 14 foot long 5 foot wide and 4 foot tall single body structure. It took me and my team eleven versions to finalize the 3D model to what you see above. The shape was captured by superimposing two naca airfoils perpendicular to each other and creating several cross sections along the length of the foil. The cross sections helped control the curvature and create a continuous, smooth shape.
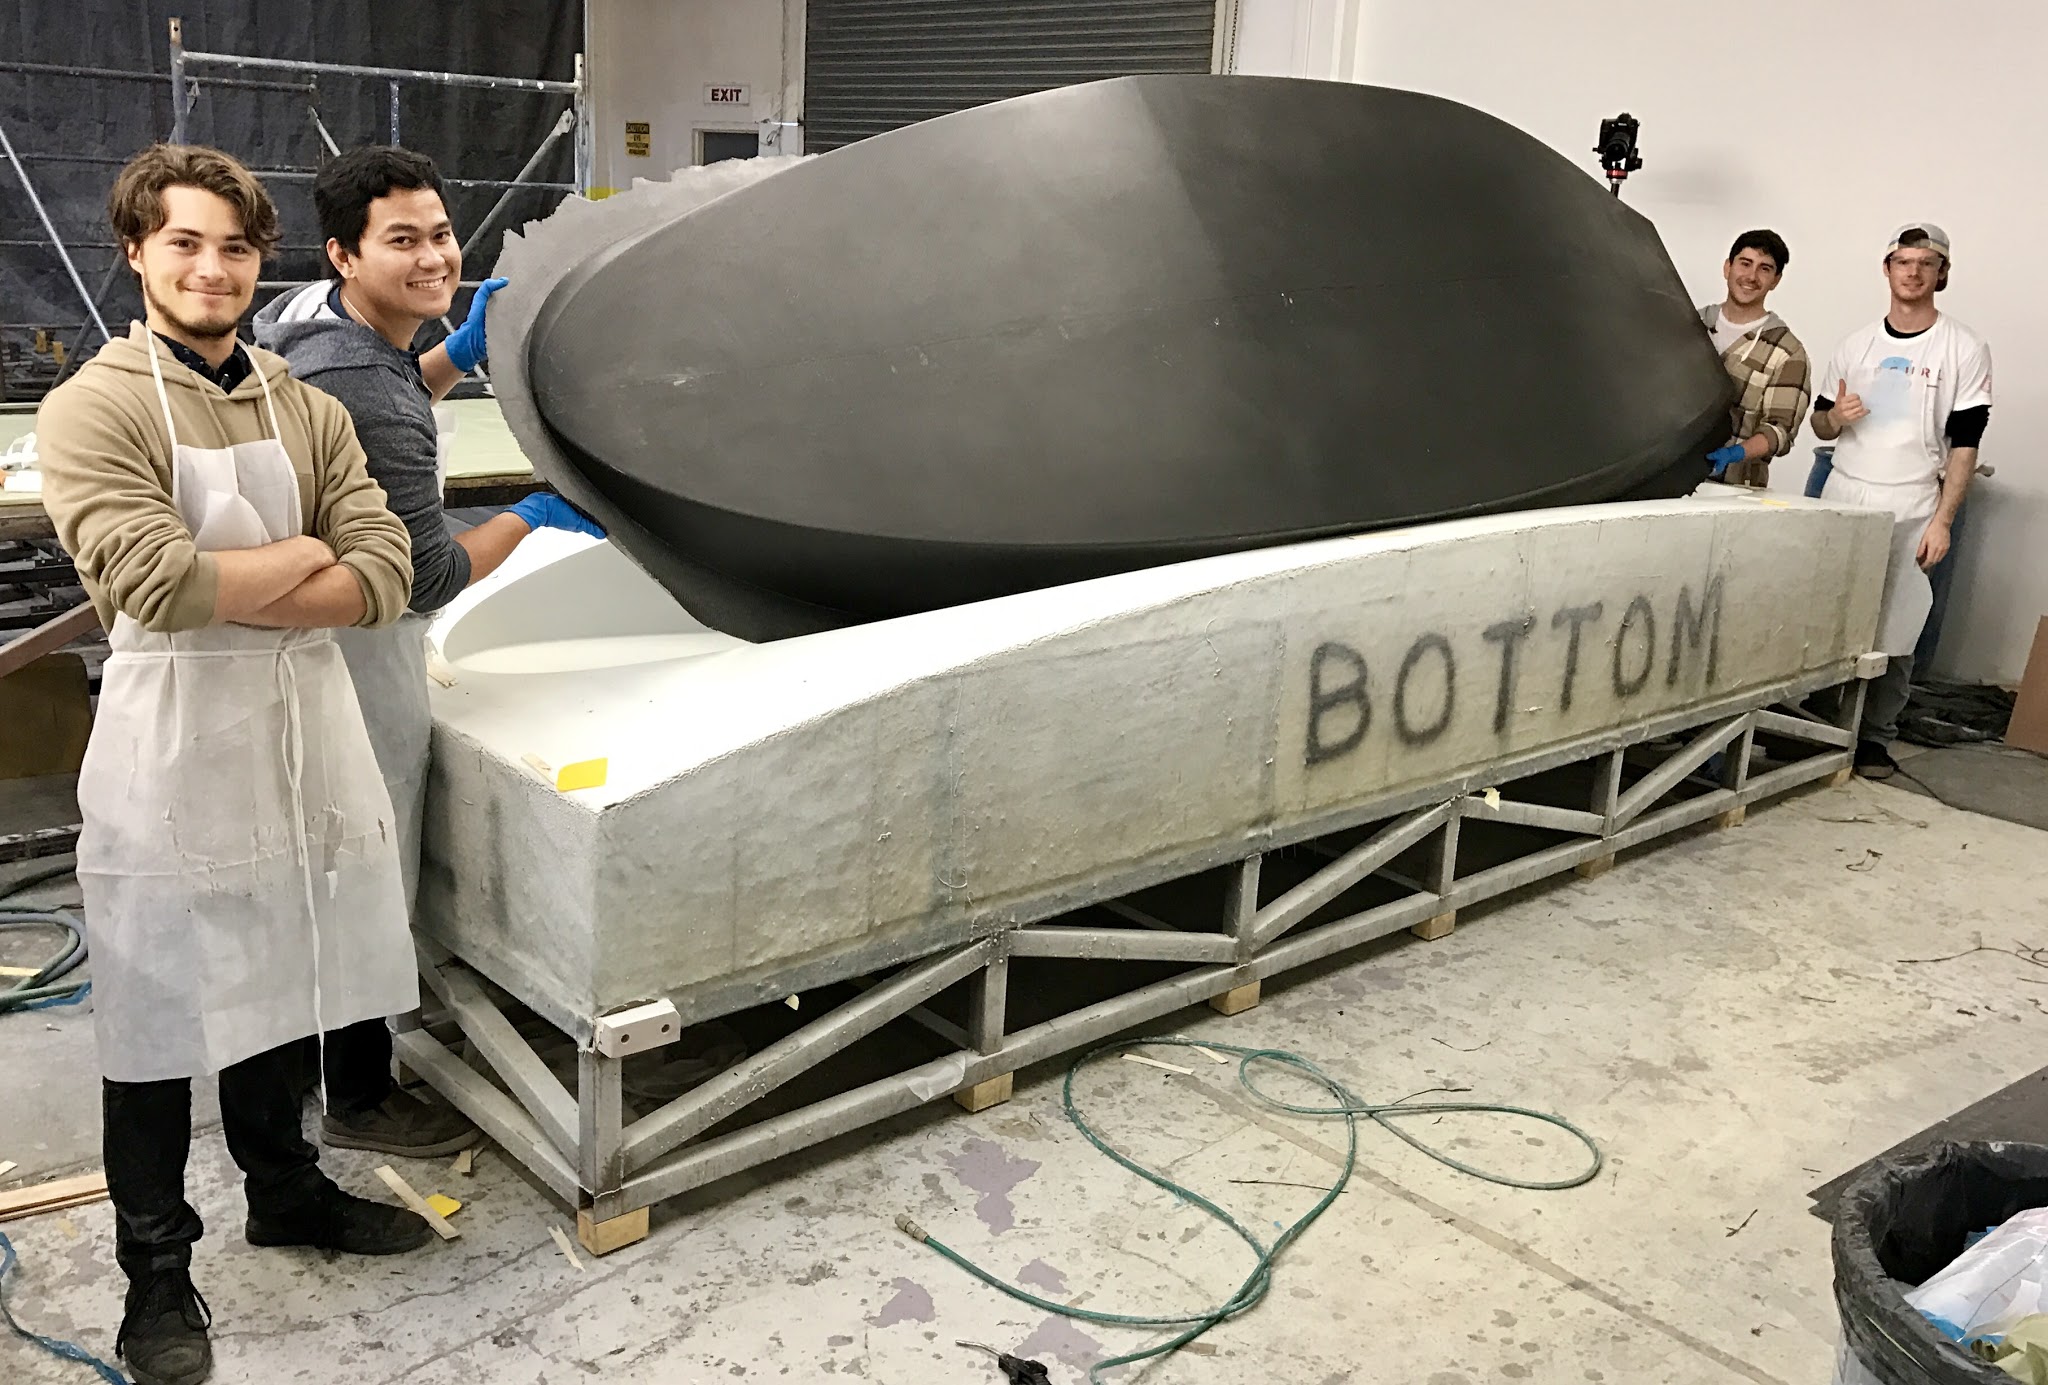
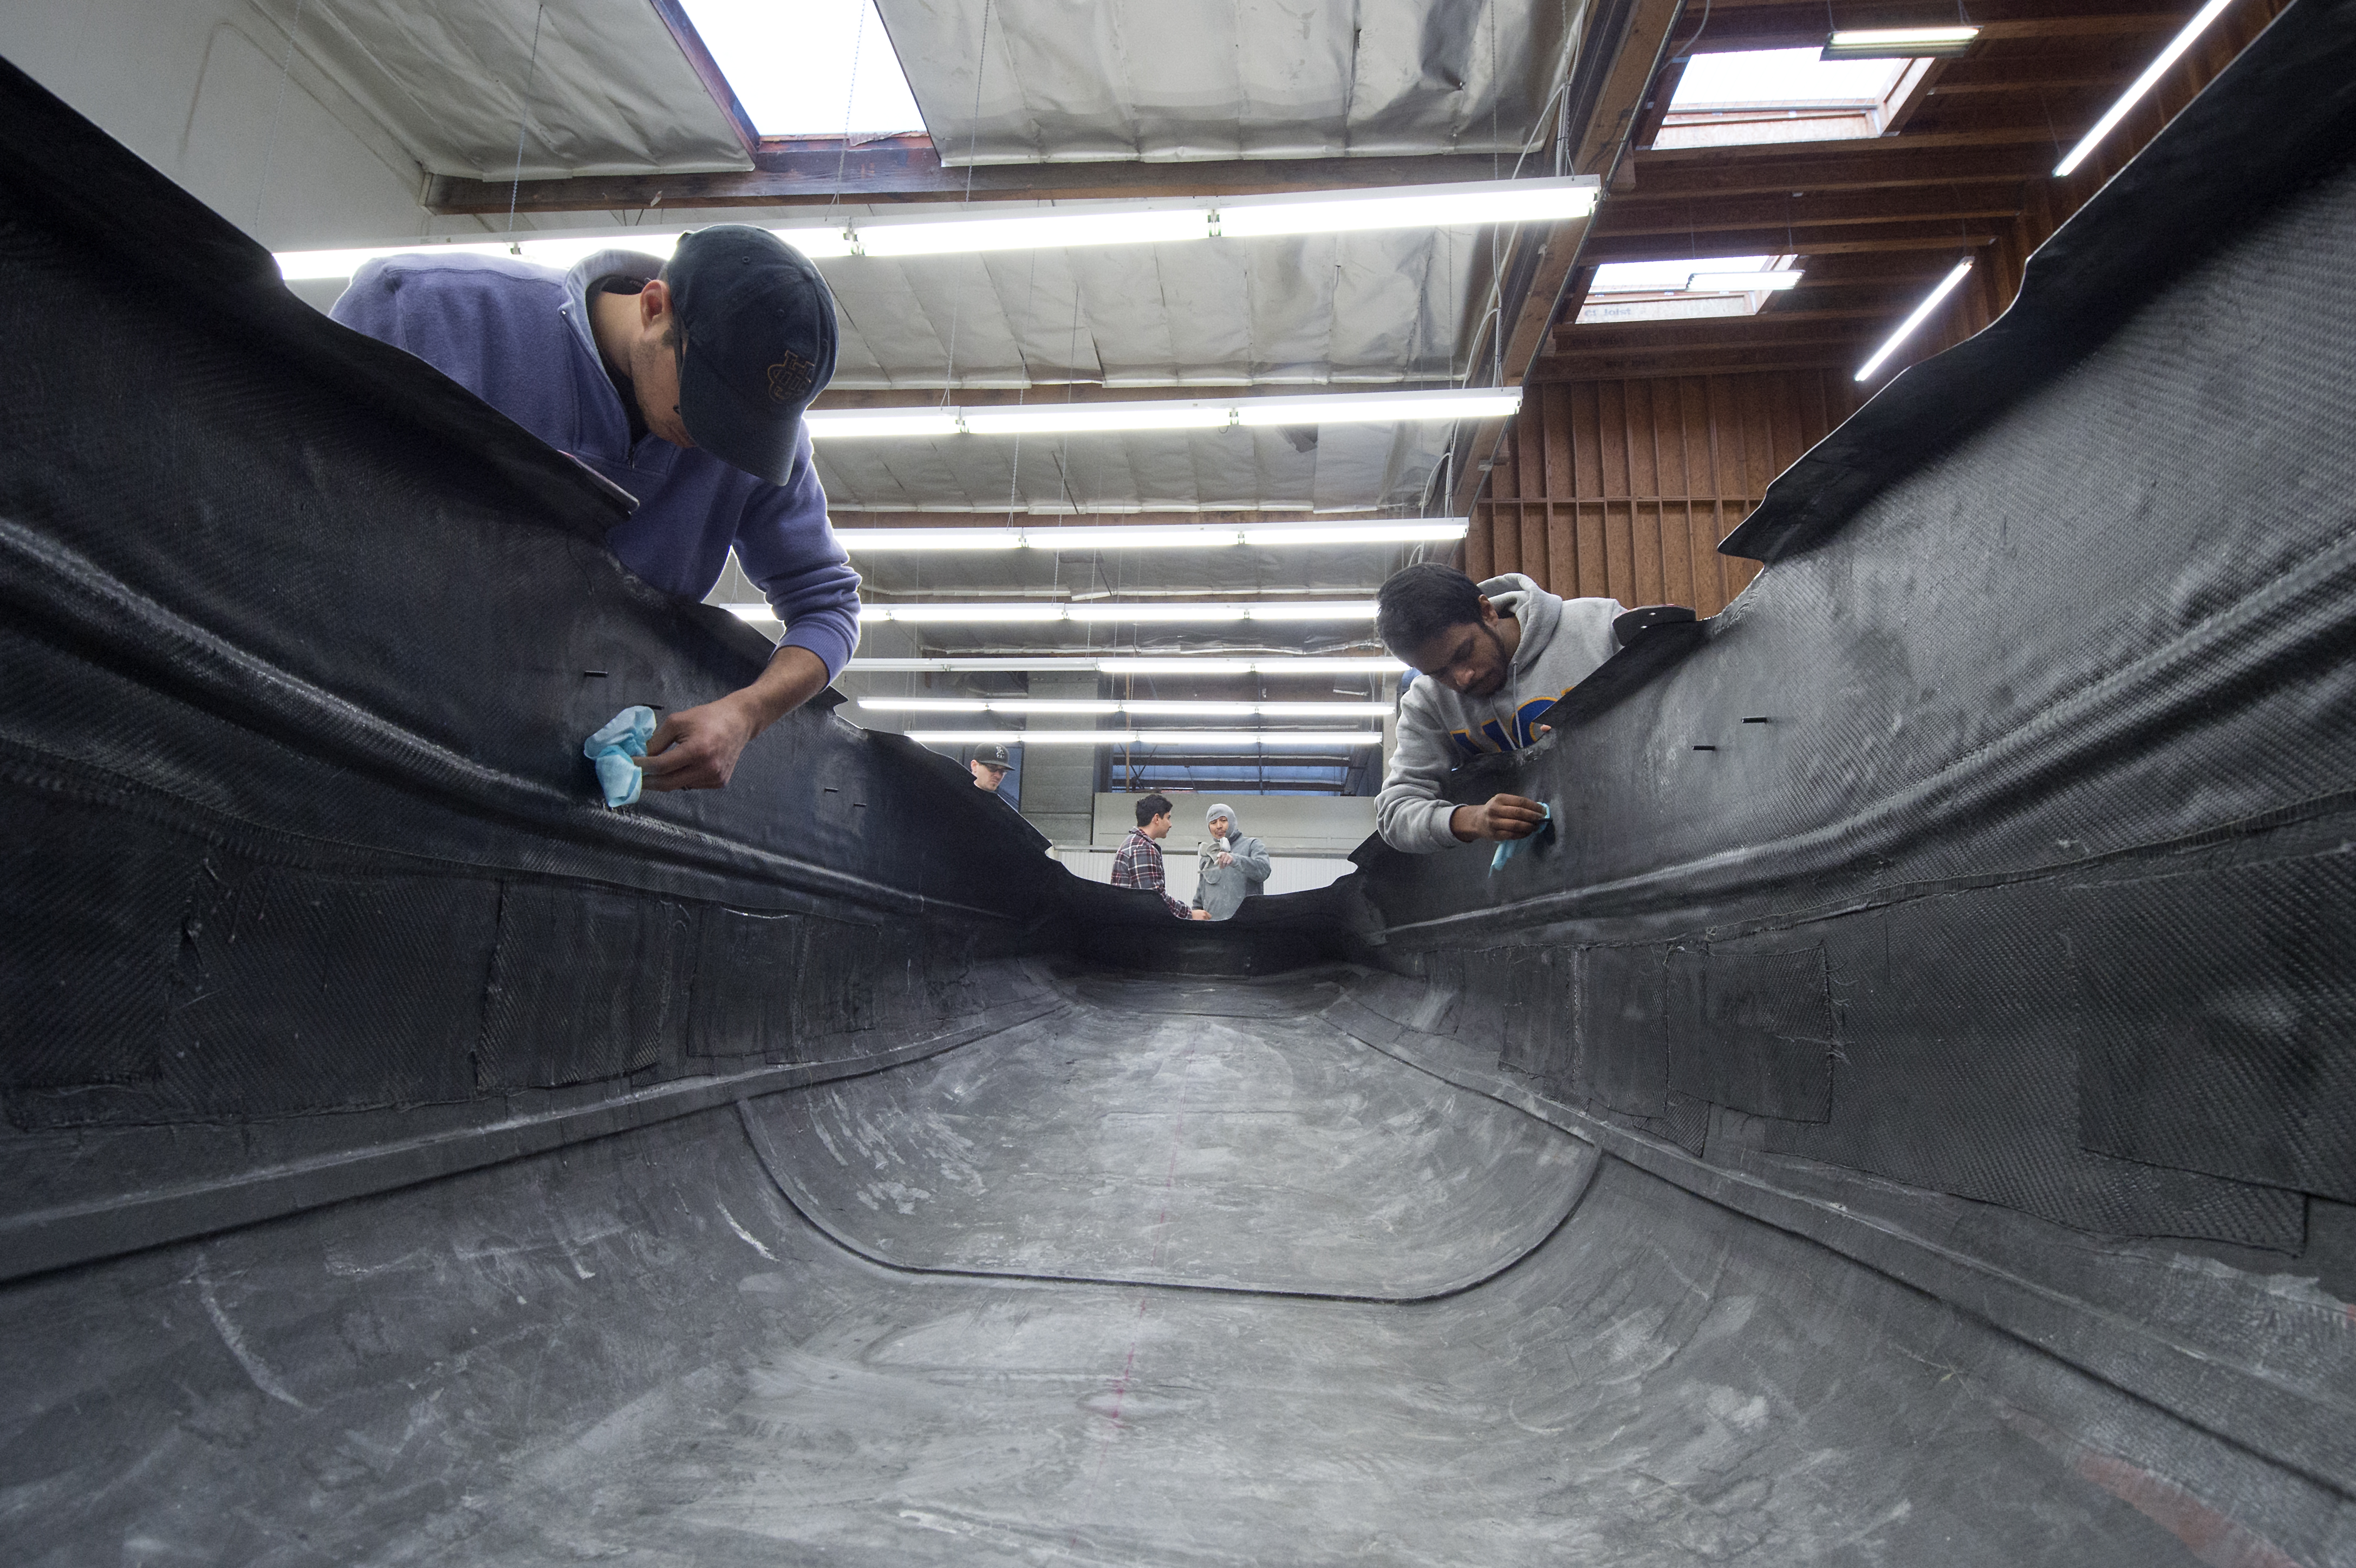
I worked closely with the fuselage lead Nathan Sharifrazy to bring the 3D model to life. We did this by creating two female molds that did not exhibit negative draft so that the part can be easily released. We decided to use female molds because of the surface finish of the final part, a smoother surface can be achieved with the surface that is in contact with the mold.
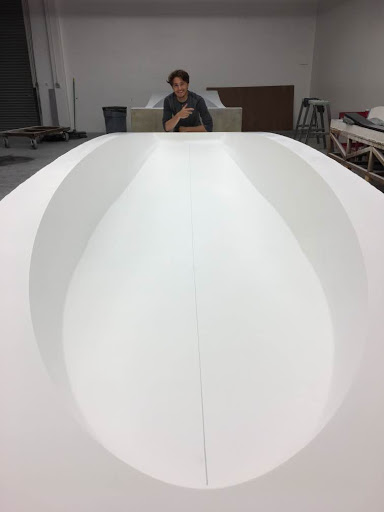
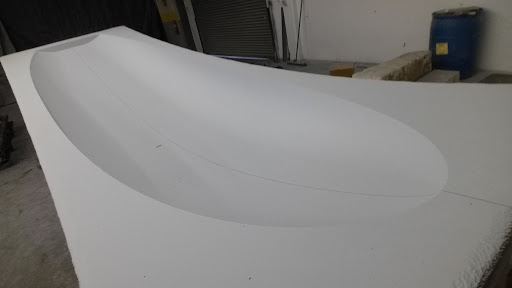
When the 3D model of the molds was finished we sent them to ADM works who used a gantry mill to CNC both molds. The molds were then sanded to remove the tool marks and then a surface finish was applied to remove any small imperfections. The pictures above show what the two molds looksed like at that point in the process.
My team mates applied multiple layers of wax in order to allow the carbon fiber and epoxy to realease from the mold. At the same time we were planning the layup sechedule and cutting the carbon fiber sections to have everything ready for the wet layup.
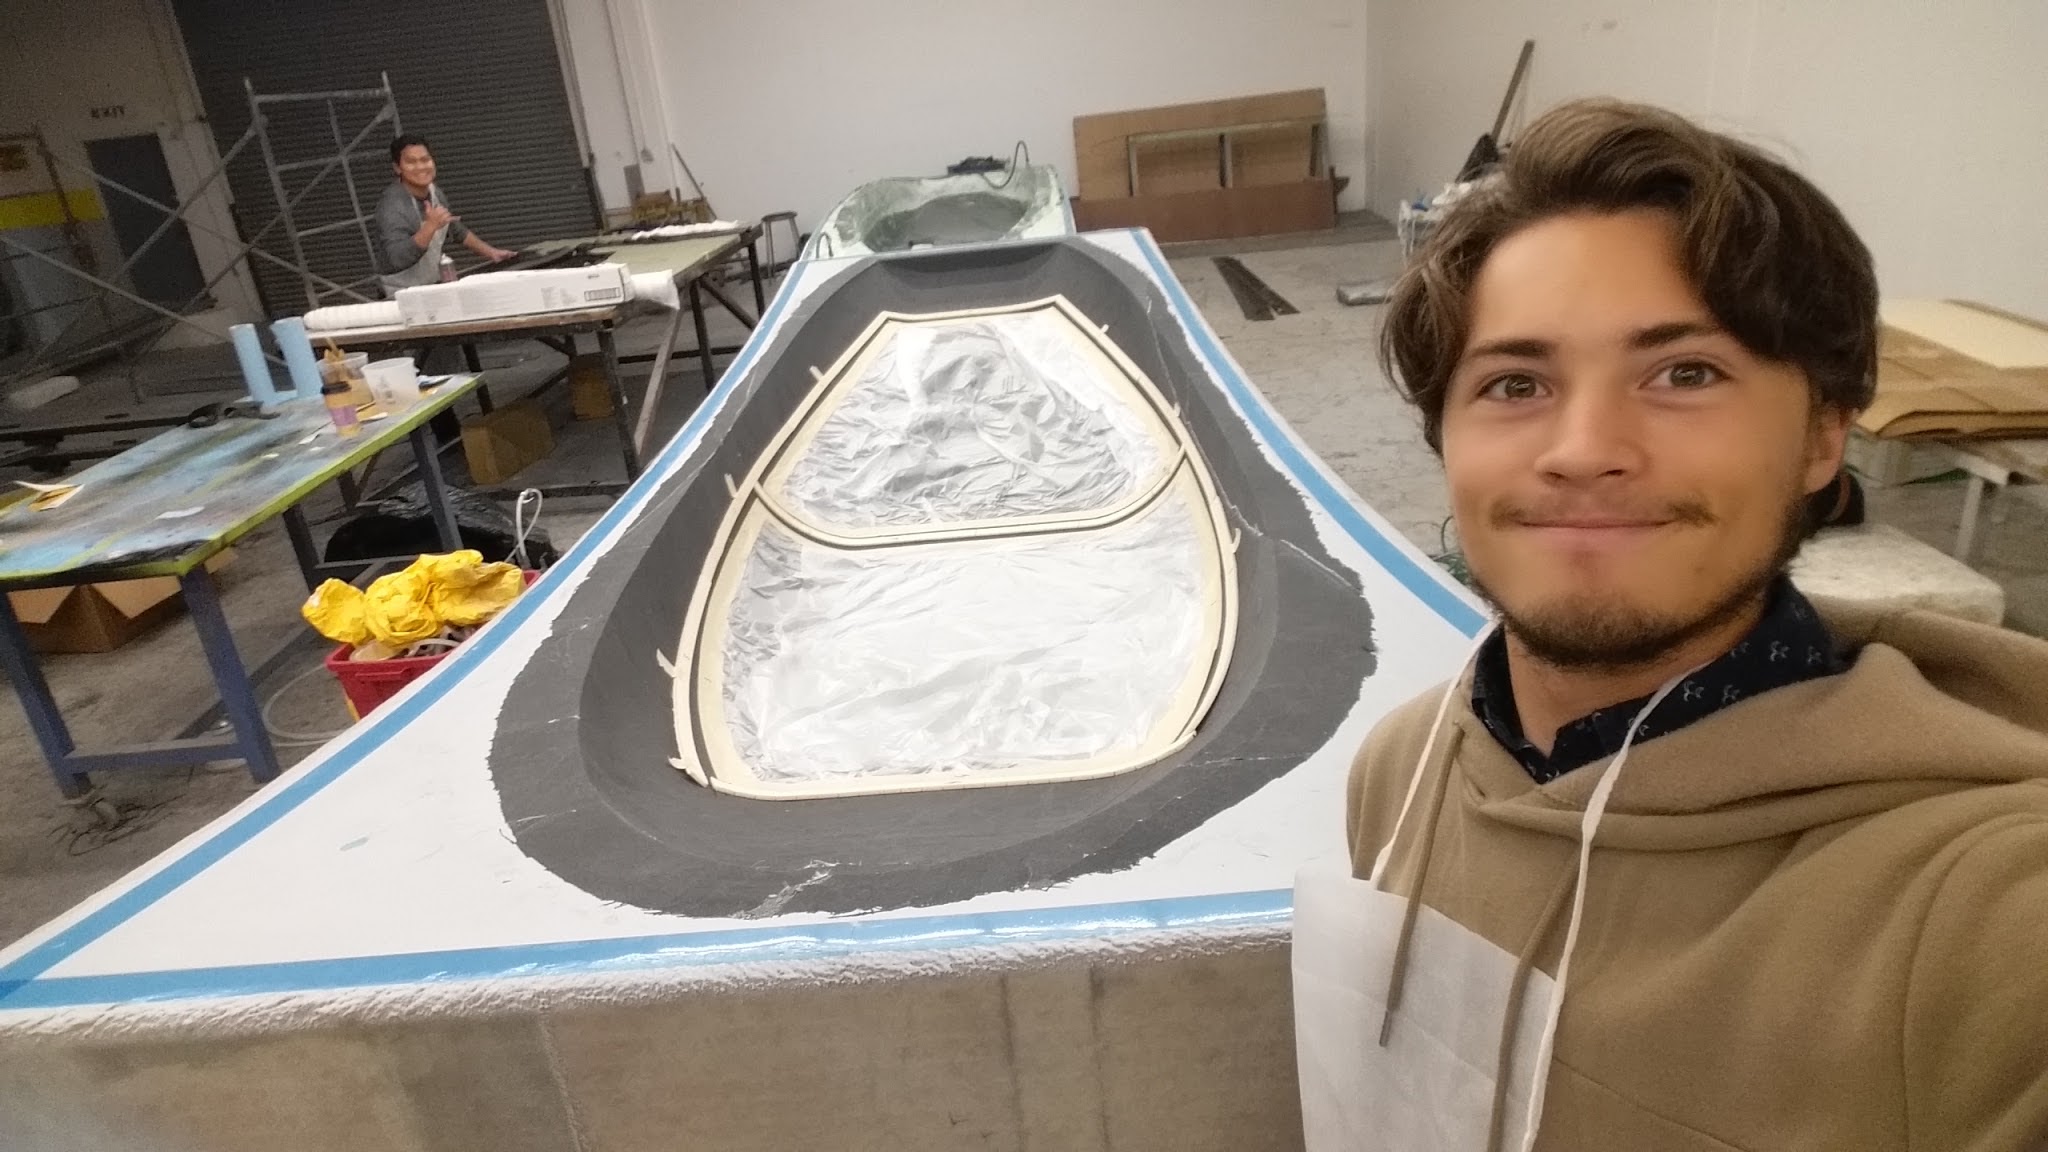
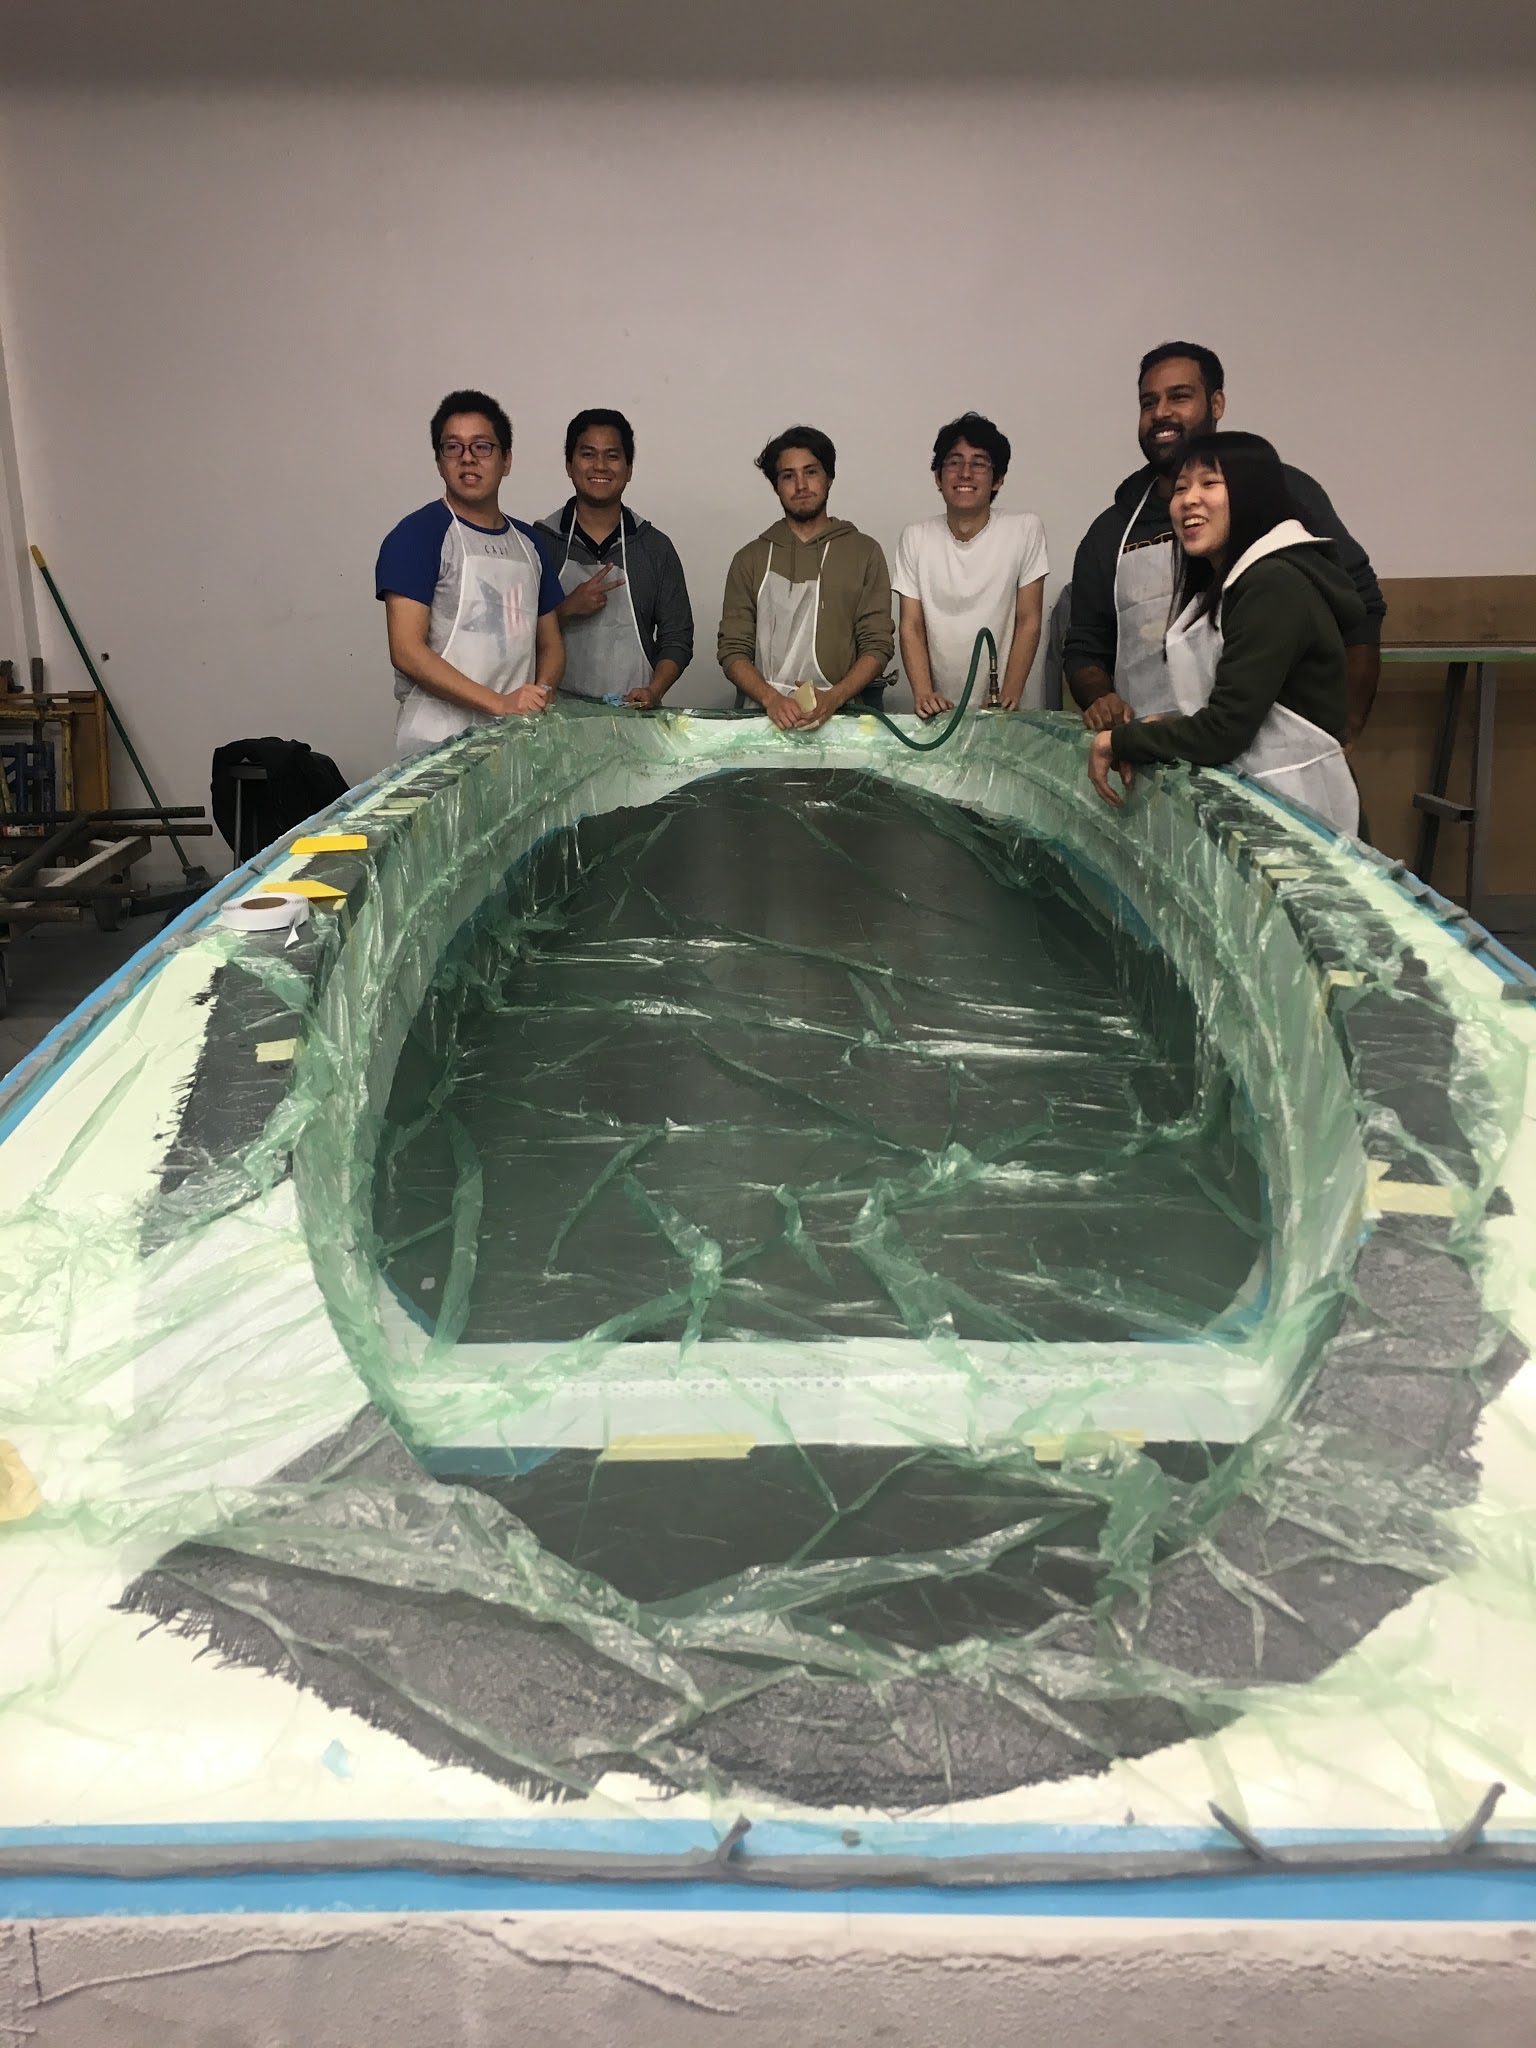
It took ten people all working at the same time to mix the epoxy and massage the carbon cloth into the shape of the mold. Every time we put down a layer we would used squiggies to spread the epoxy on the fiber and bound it to the previous layers. We had an hour pot life so this meant we had to make sure we applied all the carbon plies as well as peel ply, breather, and vacuum bag within this time slot. Once everything was finished we turned on the vacuum pump and let it cure for a week! Working with the team and producing the fearing was one of the most gratifying experience in the hyperloop project.
